Your account · Settings & admin
How do admin permissions work?
Decide what each admin can do, from paying the bill to approving timesheets.
For admins · Updated 14 October 2026
Not every admin needs to do everything. Permission groups let you decide what each admin can do. You might have one group for payroll and another for the people who look after your workers.
How it works
- Every admin belongs to one permission group. The group’s ticks decide what they can do.
- Every account starts with a group called Full Access, which can do everything.
- You choose a group when you make someone an admin. See How do I add another admin?
- If you change a group’s ticks, it applies straight away to everyone in it.
- Your account owner can always do everything, whatever group they’re in.
Create a permission group
- 1Open Admin permissions in your account(opens SaveTrees in a new tab)
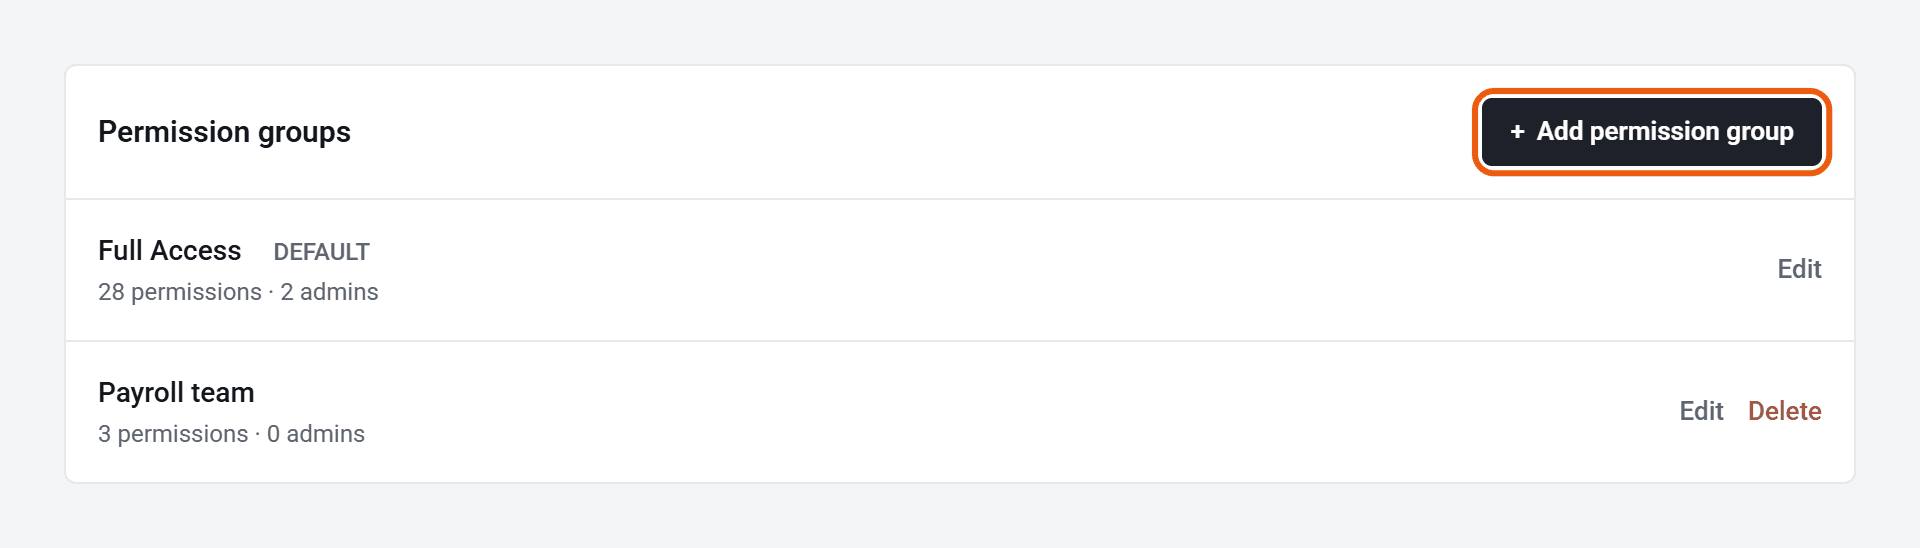
Click Settings, then Admin permissions.
- 2
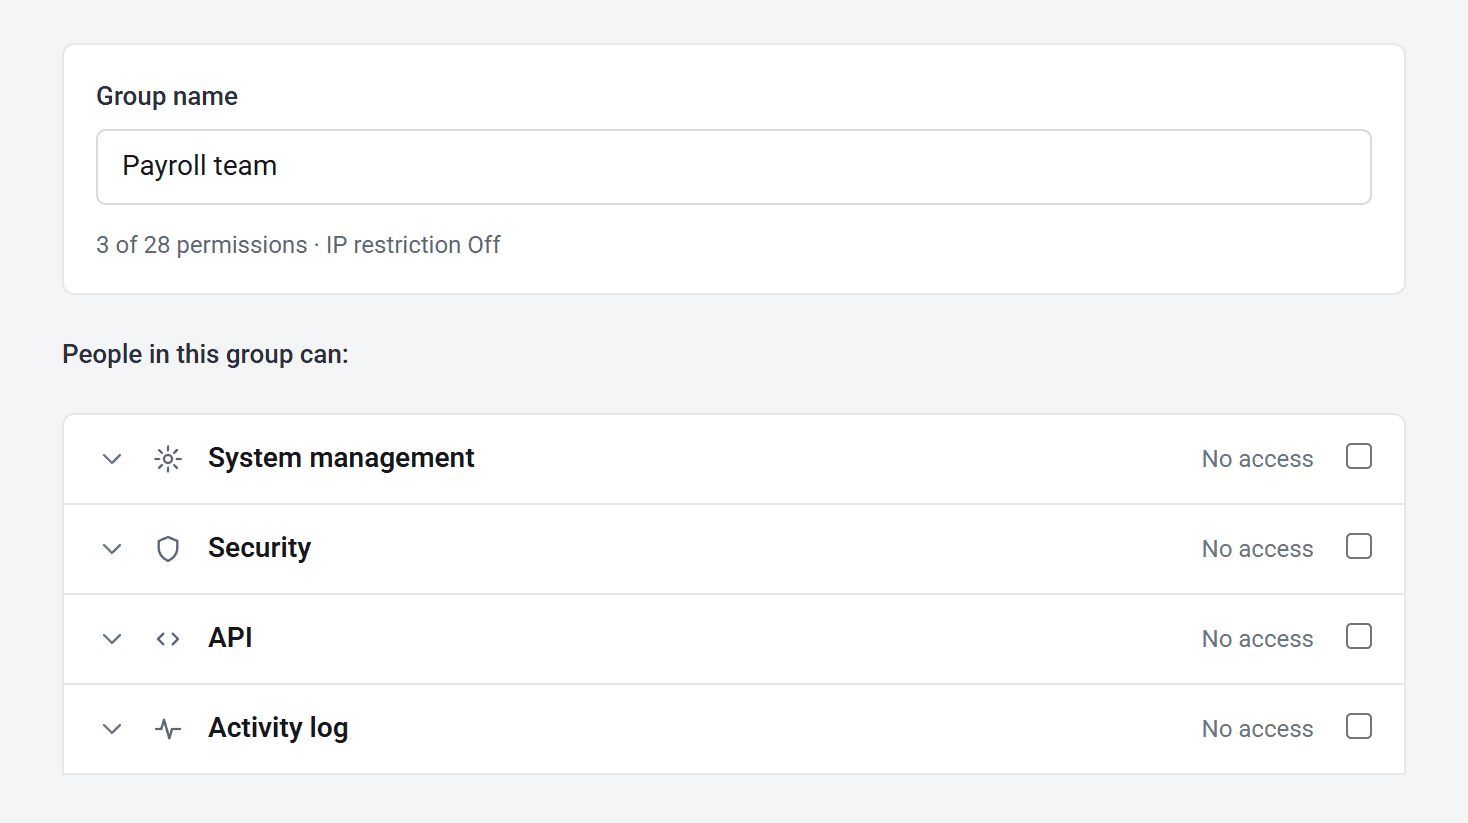
Click Add permission group and give it a name, for example Payroll team.
- 3
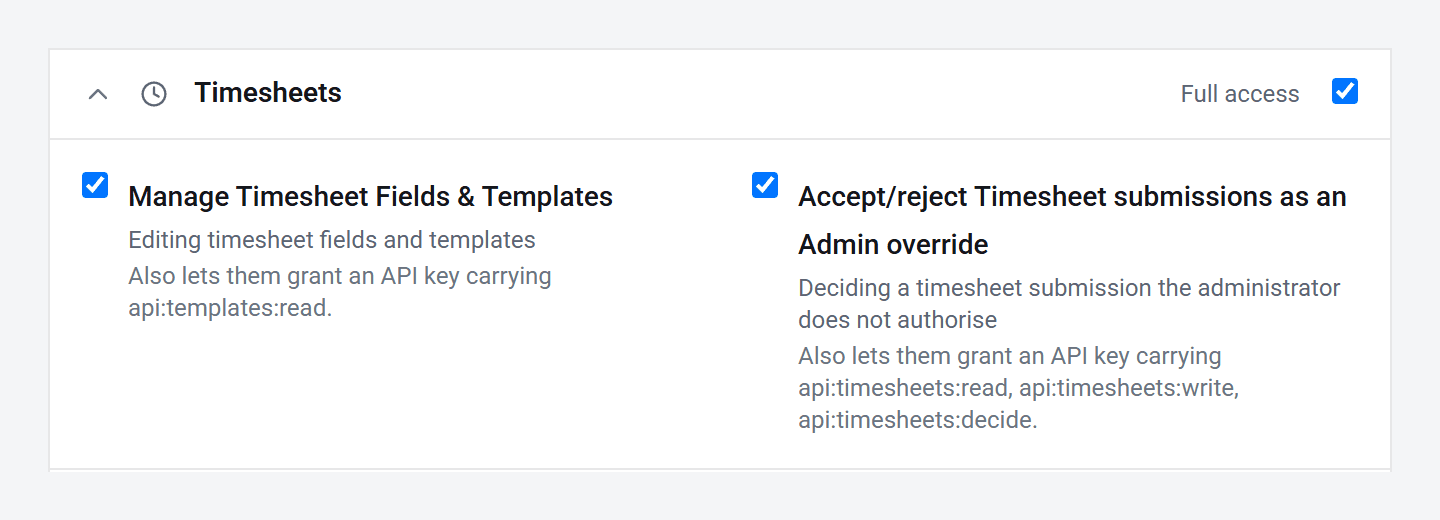
Tick what people in this group can do. You can tick a whole section, like Timesheets, in one go, or open it and pick.
- 4
Click Add permission group in the bar at the bottom of the screen to save it.
You can move an admin to a different group at any time, from Permission group on their Admin settings tab.
Permissions worth knowing about
- Access the Billing page lets them see and pay your bill.
- Manage the Workers list lets them add workers and change their details.
- Accept/reject Timesheet submissions as an Admin override lets them accept or reject a timesheet in place of the authoriser.
- Add/remove admins, assign them to permission groups lets them make other people admins.
- Edit permission groups lets them change these groups. It’s marked as high impact, because someone who has it can change what every other admin can do. They can only hand out permissions they have themselves, though.
- A few, like API keys and the Microsoft sign-in settings, are locked for everyone except your account owner. Admins in Full Access already have them.
Only allow sign-in from places you trust
You can make sure admins in a group can only use SaveTrees from places you trust, like your office network.
- 1
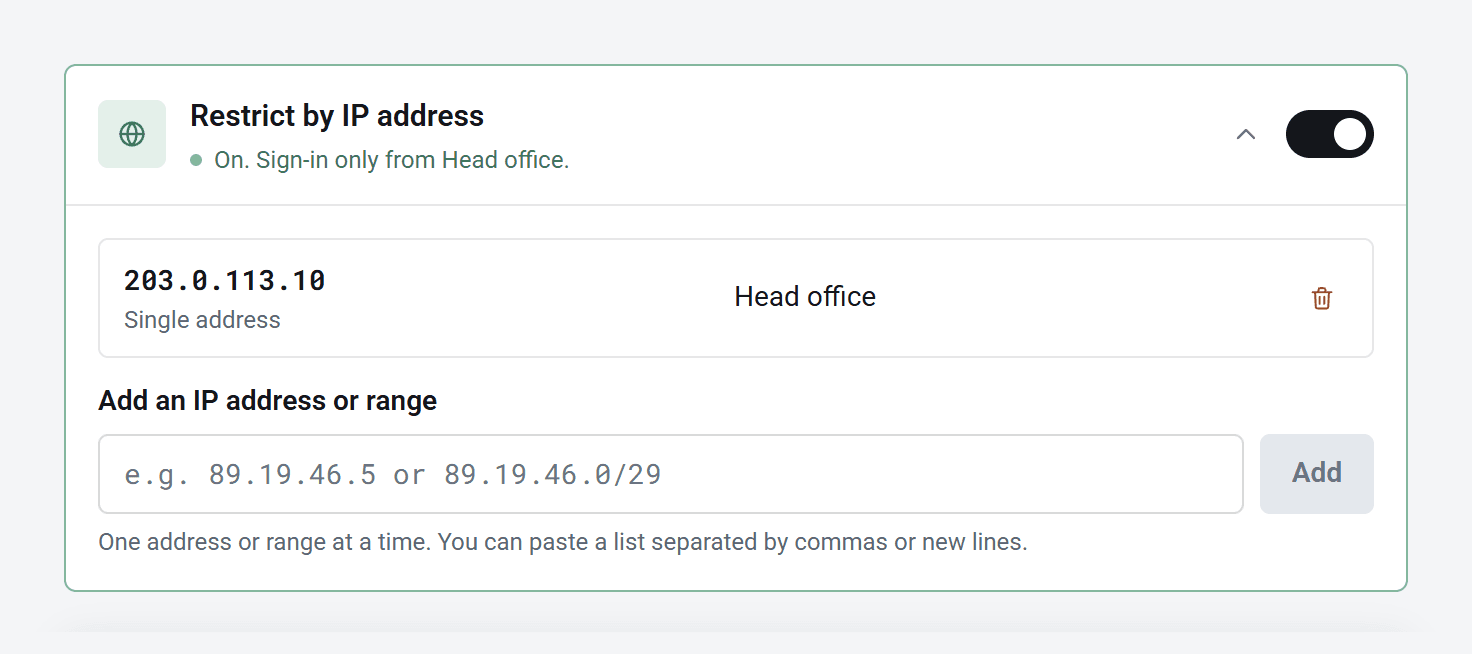
Open the group from Admin permissions and switch on Restrict by IP address.
- 2
Type an IP address, or a range, and click Add. Give it a label, like Head office, so you know what it is later.
- 3
Click Save in the bar at the bottom of the screen.
Not sure of your office’s address? While you’re there, the card shows the one you’re using now, with an Add it button.
Admins in the group who try to sign in from anywhere else are told they can’t sign in from that network. It applies to everyone in the group, your account owner included. SaveTrees won’t let you save a list that would lock you out, or one that leaves no account owner able to sign in.
Who can change permission groups?
Your account owner, and admins whose group includes Edit permission groups. Other admins don’t see Admin permissions in Settings.
Deleting a group
Click Delete next to the group on the Admin permissions page. You can’t delete Full Access, or a group that still has admins in it.