Your account · Get set up
Getting started as a worker
New to SaveTrees? Set up your account and send your first timesheet in a few minutes.
For workers · Updated 13 October 2026
Welcome to SaveTrees. The organisation you work with uses it to collect timesheets, so this is where you tell them the hours you’ve worked. Here’s how to get set up and send your first one.
They might call you something other than a worker, like a contractor or a temp. Everything here still applies.
Set up your account
- 1
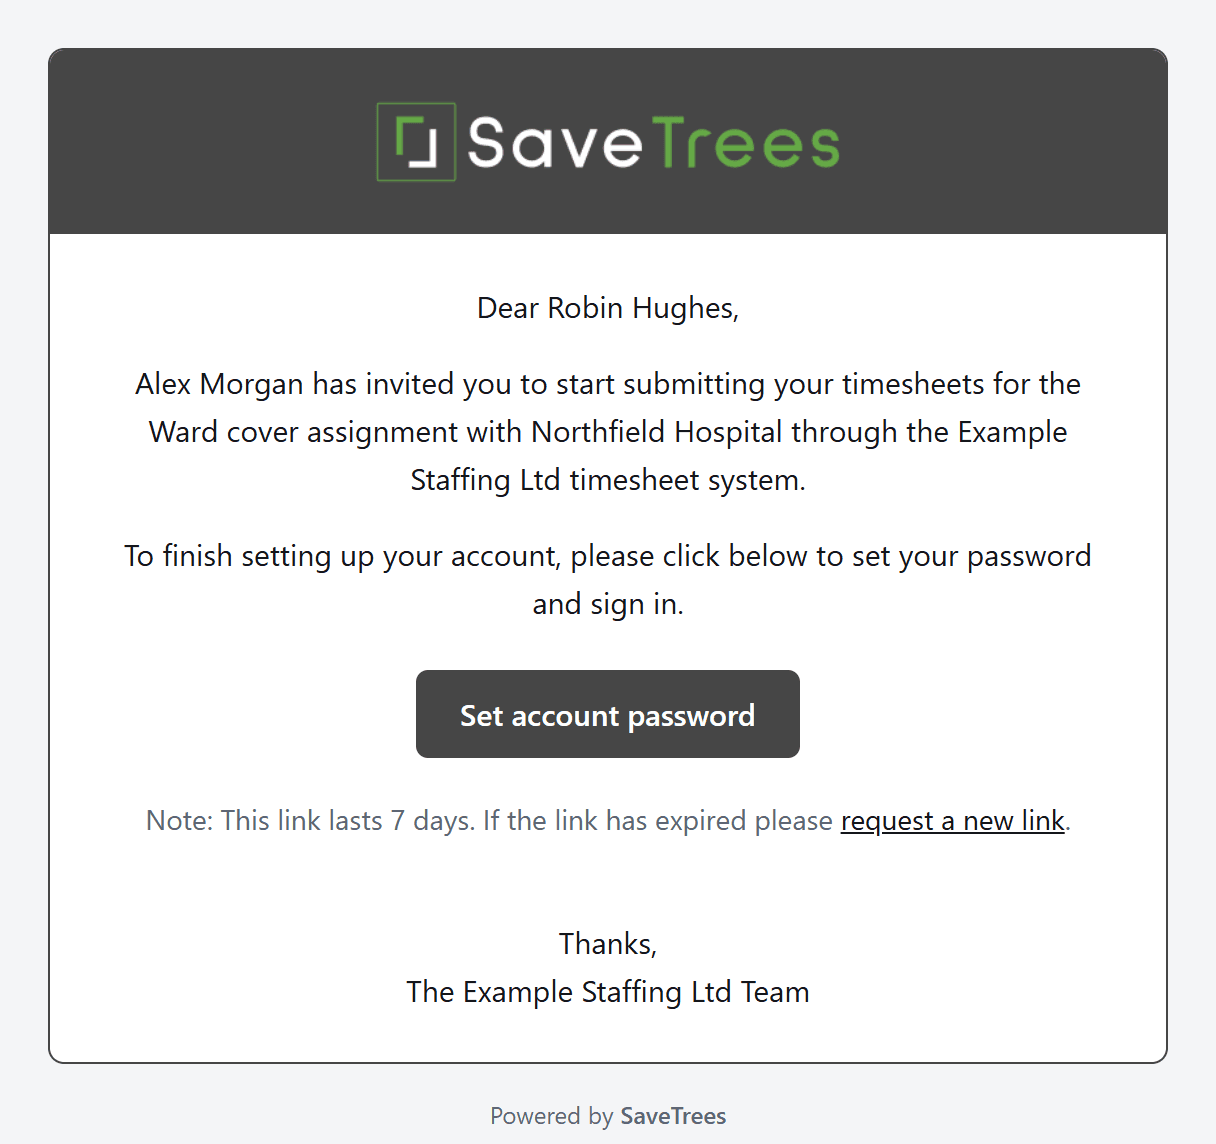
Look for an email inviting you to become a worker on their timesheet system, and click Set account password.
- 2
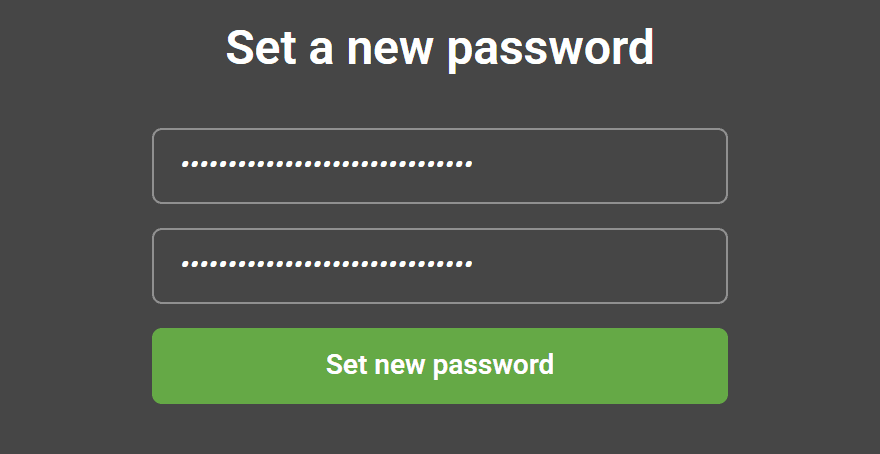
Choose a password at least 12 characters long, type it into both boxes and click Set new password.
- 3
Sign in with your email address and your new password.
The link in the email works for 7 days. If it’s run out, ask whoever invited you to send a new one.
If the sign-in page offers Continue with Google or Continue with Microsoft, you can use that instead of a password, as long as it’s the same email address you were invited with. A Microsoft work or school account might be turned away. If that happens, sign in with your password, then go to Settings and click Connect next to Microsoft.
It’s worth bookmarking the sign-in page so it’s easy to find next time. Forgotten your password later on? See How do I reset my password?
Find your way around
When you sign in, you land on your Timesheets list. Everything else is in the menu on the left.
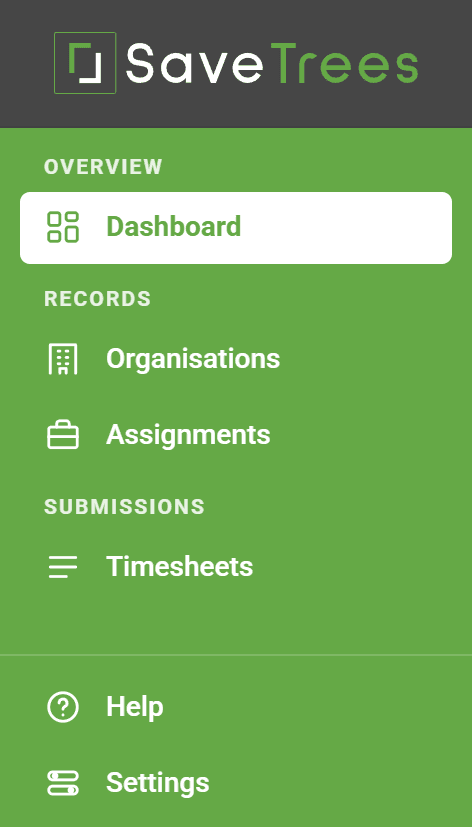
- Dashboard shows what needs doing, like weeks you haven’t sent yet or timesheets that need changing.
- Organisations and Assignments show who you’re working for and the work you’ve been set up on.
- Timesheets has all your timesheets, sent and unsent.
- Expenses is where you claim expenses, if your organisation uses them.
- Help and Settings are at the bottom.
Send your first timesheet
- 1
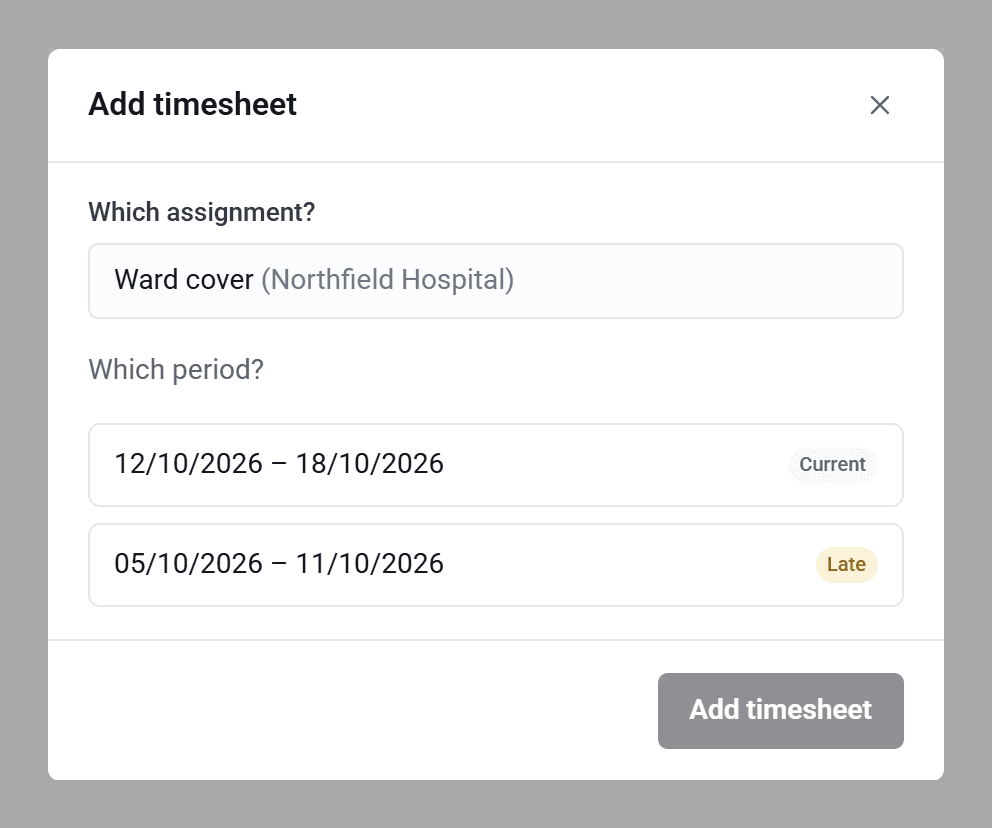
On your Timesheets list, click Add timesheet.
- 2
Choose the week under Which period?
- 3
Fill in your days. If you need to finish later, click Save as draft.
- 4
When it’s ready, click Send for authorisation.
It goes to your authoriser to check. We’ll email you when it’s accepted, with a PDF copy attached, or if it’s sent back with something to change. To see where each of your timesheets has got to, see What do the timesheet statuses mean?
Choose your emails
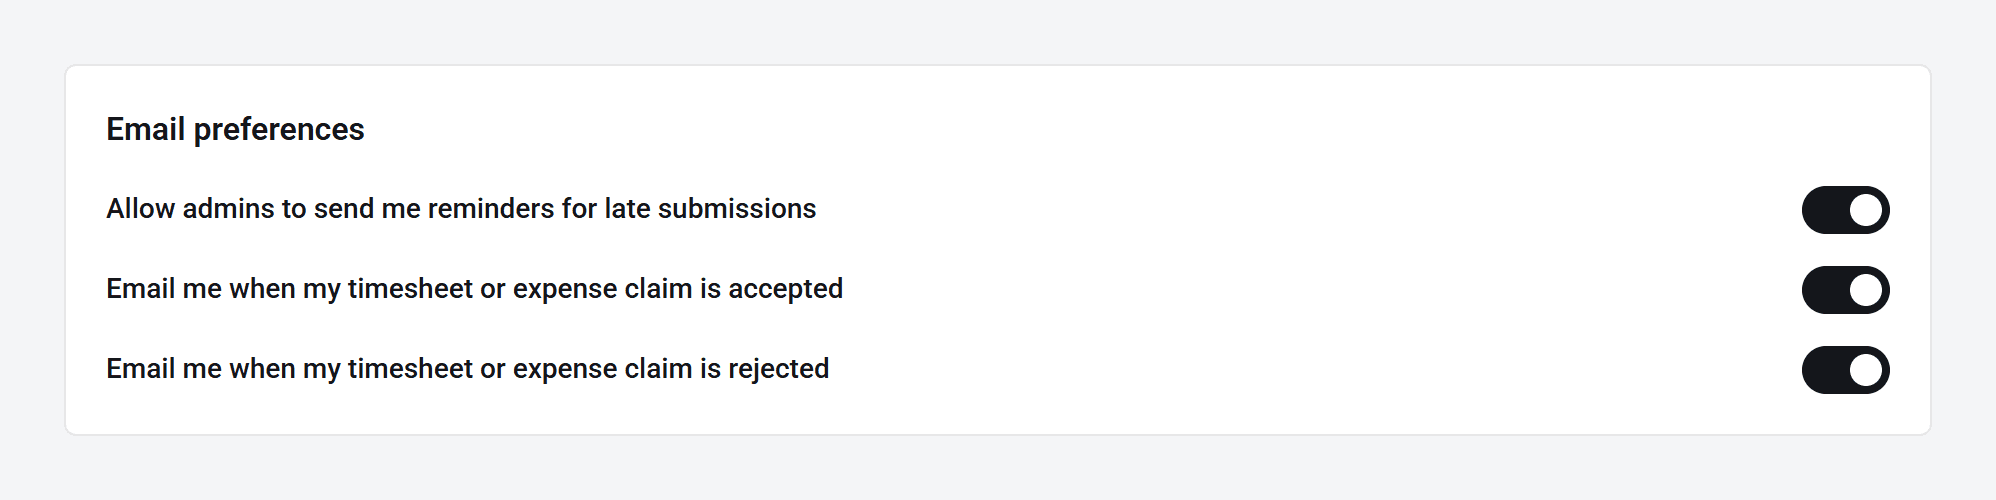
In Settings, under Email preferences, you can choose whether we email you when a timesheet is accepted or sent back, and whether your admins can send you reminders when one is late.
Stuck?
Search this help site, or ask whoever invited you to SaveTrees. They set up your assignments and can sort out most things.