Expenses · Get set up
How do I set up expenses?
Switch on Expenses, choose what people can claim and at what mileage rate, and put workers on it.
For admins · Updated 15 October 2026
Expenses lets your workers claim mileage and receipts, and their authorisers approve them, just like timesheets. Setting it up takes a few minutes, and SaveTrees gives you a ready-made template to start from.
1. Switch on Expenses
- 1Open Module settings in your account(opens SaveTrees in a new tab)
Go to Settings and click Module settings.
- 2
Switch on Expenses and click Save.
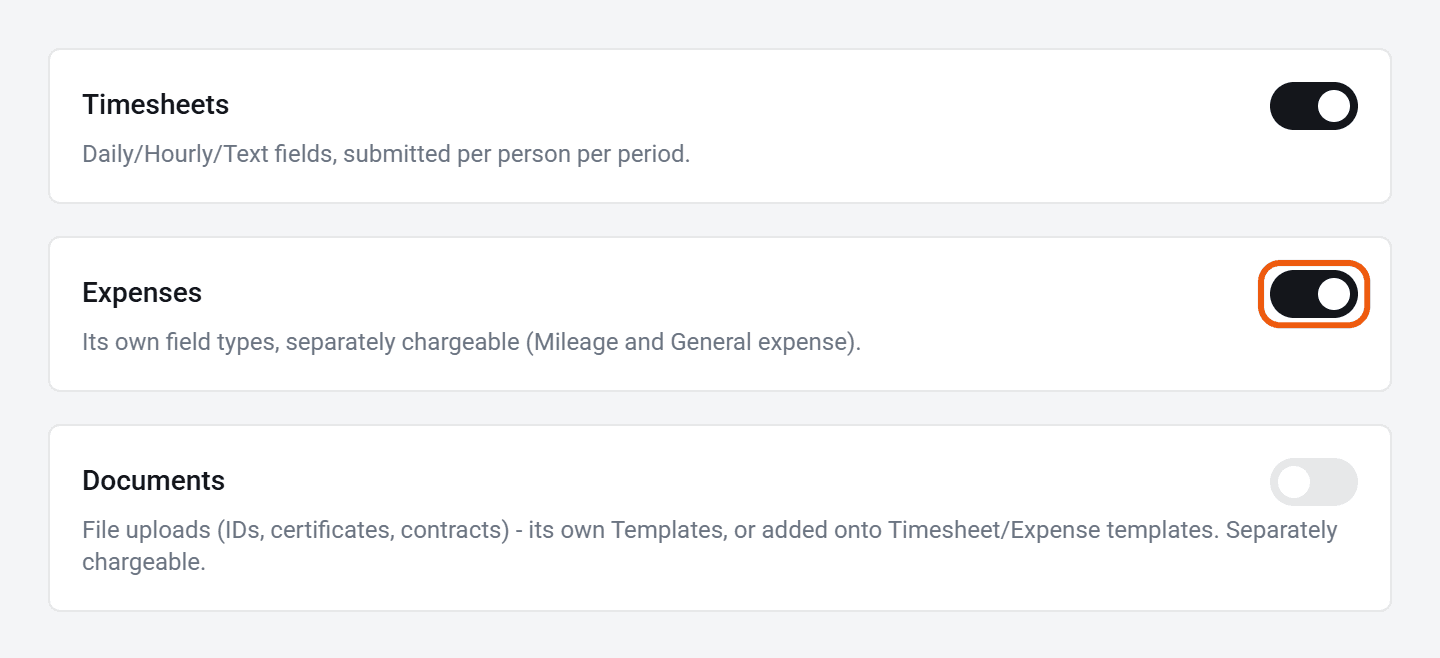
Expenses then appears in the menu and in Settings. The first time, you also get a Standard expenses template with four ready-made kinds of expense: mileage by route, mileage by miles, a receipt scan, and an expense entered by hand. Mileage starts at 45p a mile.
Expenses is billed separately from timesheets. See How does billing work?
2. Choose what people can claim
Each kind of expense is a field, and a template is the set of fields a worker can claim. The starter template may be all you need. To change it, go to Settings, Expenses, then Expense templates.
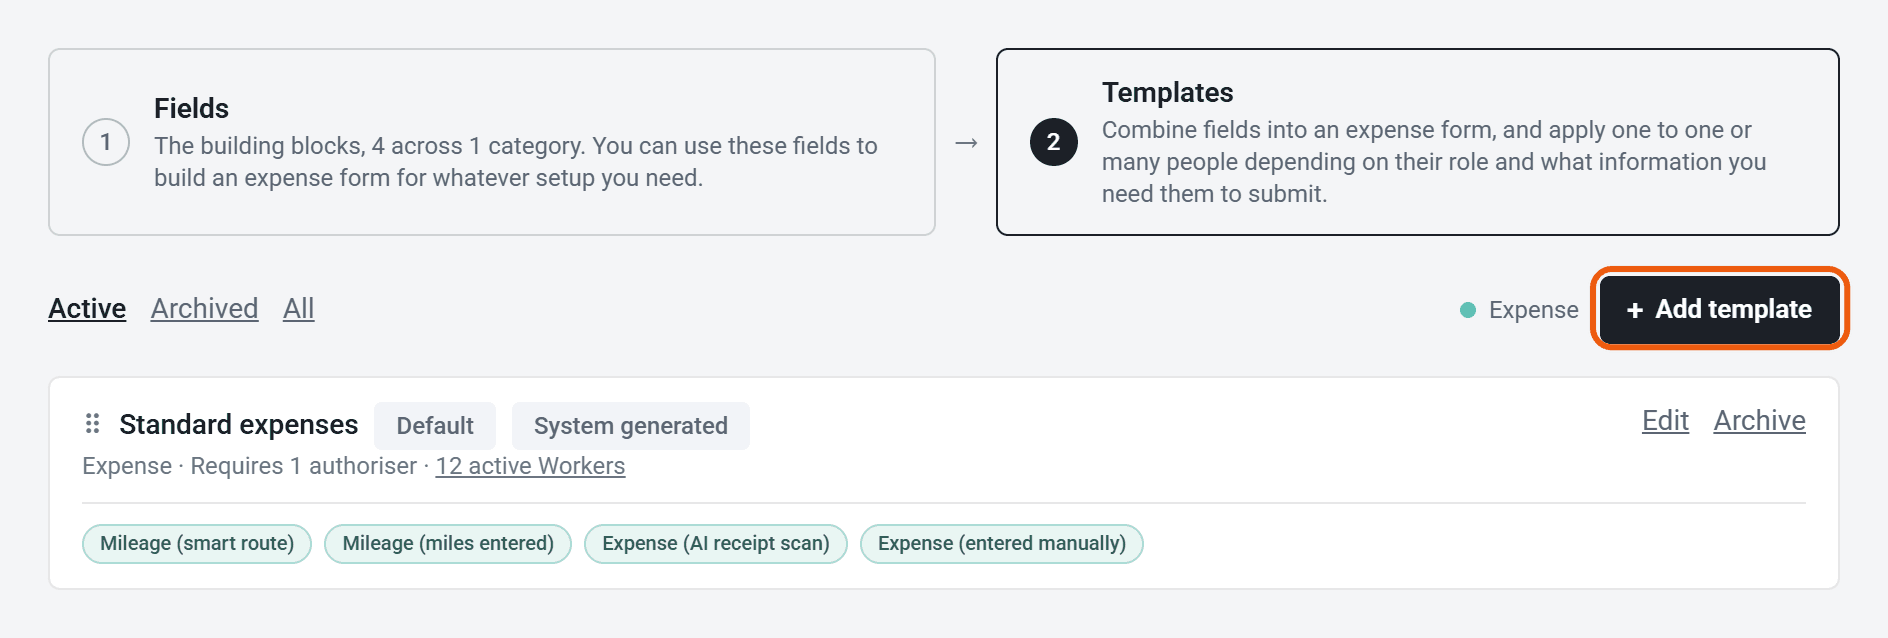
To add a new kind of expense, click Fields at the top, then Add field, and choose how it’s entered:
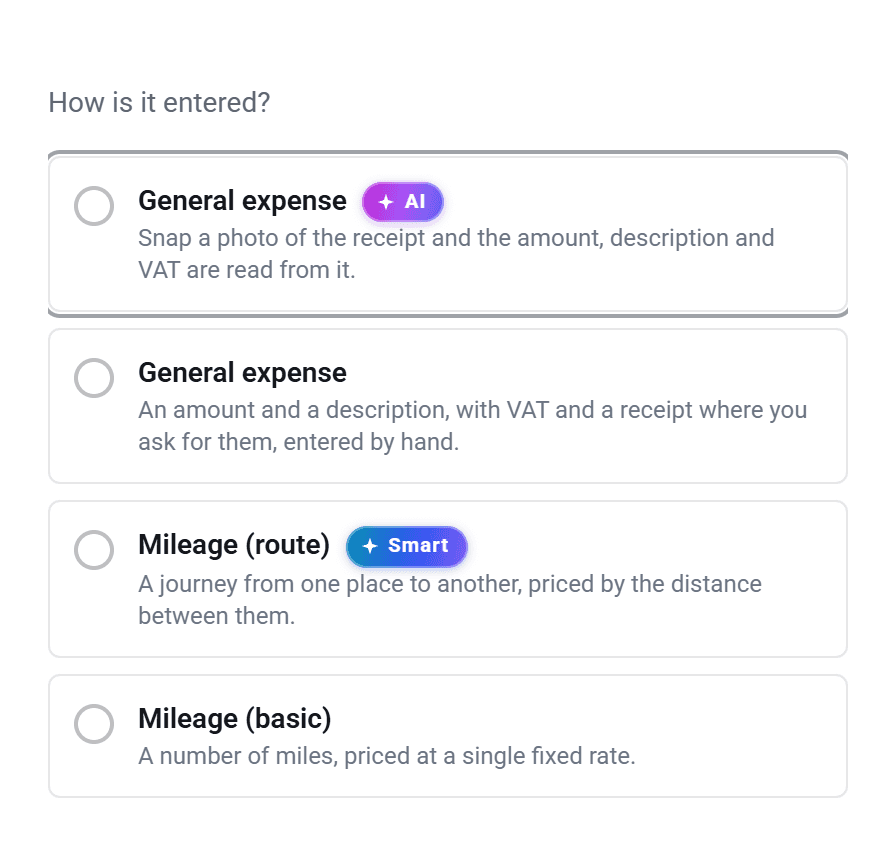
- General expense (AI): the worker snaps the receipt, and the amount, description and VAT are read from it.
- General expense: the worker types the amount and a description. You choose whether a receipt or description is required, and can let them claim several units at once, like 3 nights.
- Mileage (route): the worker enters where they went from and to, and the distance is worked out for them.
- Mileage (basic): the worker types the number of miles.
Then fill in the details, such as the name workers see, the currency, the mileage Rate, and your pay and charge account codes, and click Add field.
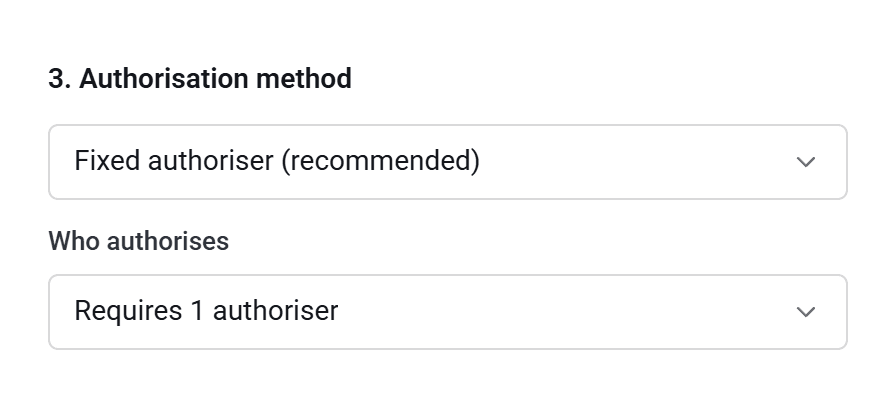
To make a new template, click Templates, then Add template. Name it, add the fields you want, and choose Who authorises, just as for a timesheet template. Once it’s made, the way it’s authorised can’t be changed. See How do timesheet templates work?
The template at the top of the list is your default. Drag templates to reorder them.
Mileage rates
Each mileage field has one rate for everyone. When the rate changes, edit the field and change its Rate. Claims already sent keep the rate they were sent with.
3. Put workers on expenses
- New workers: when you add a worker, choose an Expense template and an Expense authoriser. See How do I add a worker?
- Workers you already have: open their worker page and click Set expense template, then choose the template and authoriser.
You can leave the authoriser empty and choose one later.
4. Reminders for authorisers
Go to Settings, Expenses, then Automated expense reminders. Click Add reminder, choose how long after a claim is sent it should go out, and whether it goes to the primary authorisers, the backups, or both. You can have up to three. Click Save changes.
Workers aren’t chased about expenses, because there’s no set time when a claim is due.
Other expense settings
Under Settings, Expenses, then Expense settings, you can set a Default currency for new fields, and whether new general expense fields Require a receipt by default.
Who can do this
- Switching Expenses on needs Add/remove account modules (affects billing).
- Changing fields and templates needs your account owner, or Manage Expense Fields & Templates.
- Any admin can change expense settings and reminders.