Expenses · Day to day
How do I claim expenses and mileage?
Add your receipts and miles to a claim, then send it to your authoriser.
For workers · Updated 14 October 2026
An expense claim holds what you spent over one or more days: receipts, miles and journeys. Fill it in as you go, then send it to your authoriser when it’s complete.
Your organisation decides which kinds of expense you can claim, so your claim may not look exactly like the pictures here.
Start a claim
- 1Open Expenses in your account(opens SaveTrees in a new tab)
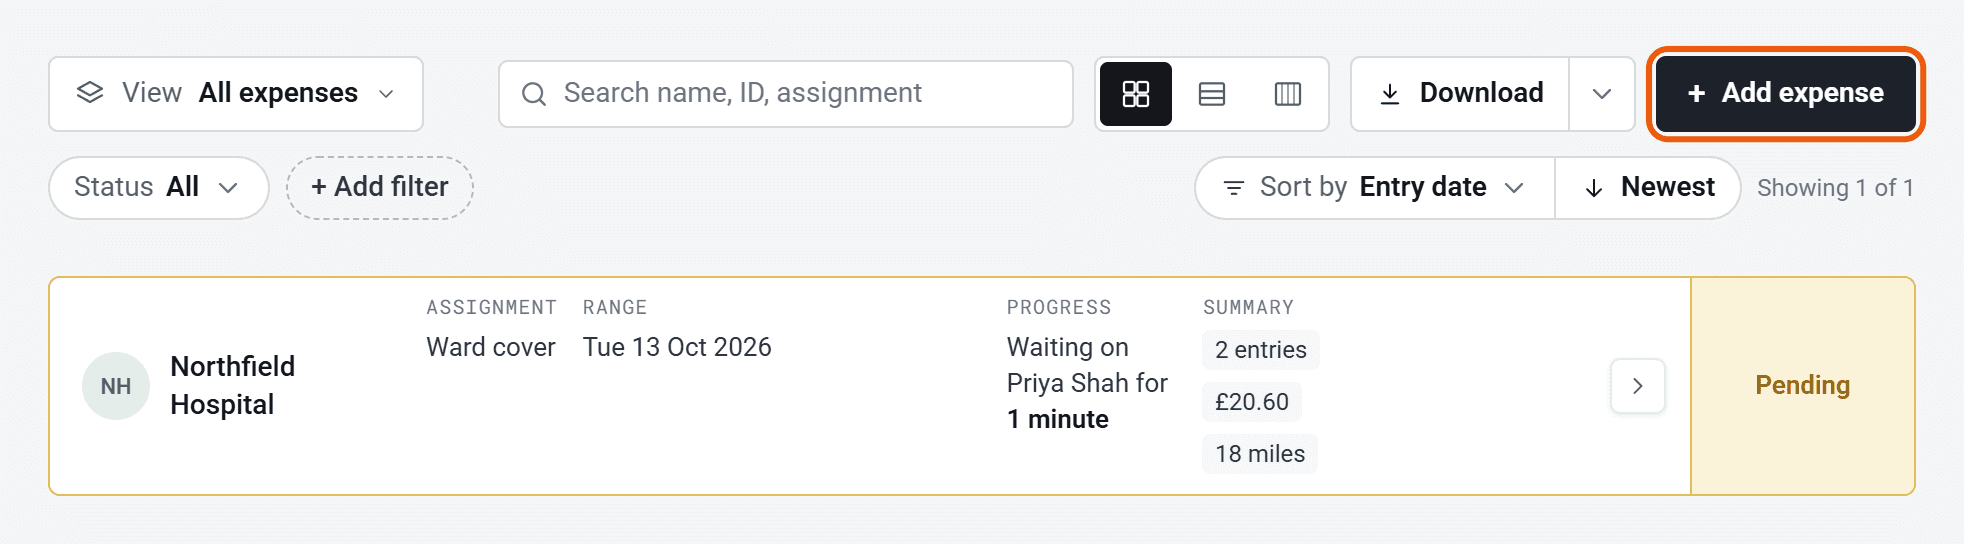
Click Expenses in the menu on the left, then Add expense.
- 2
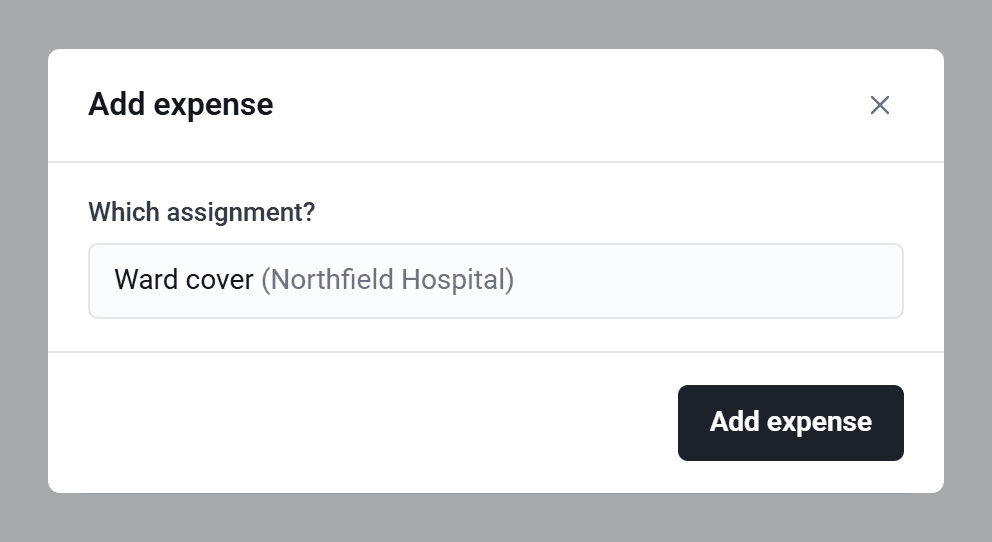
Check the assignment, or choose one if you have more than one, then click Add expense.
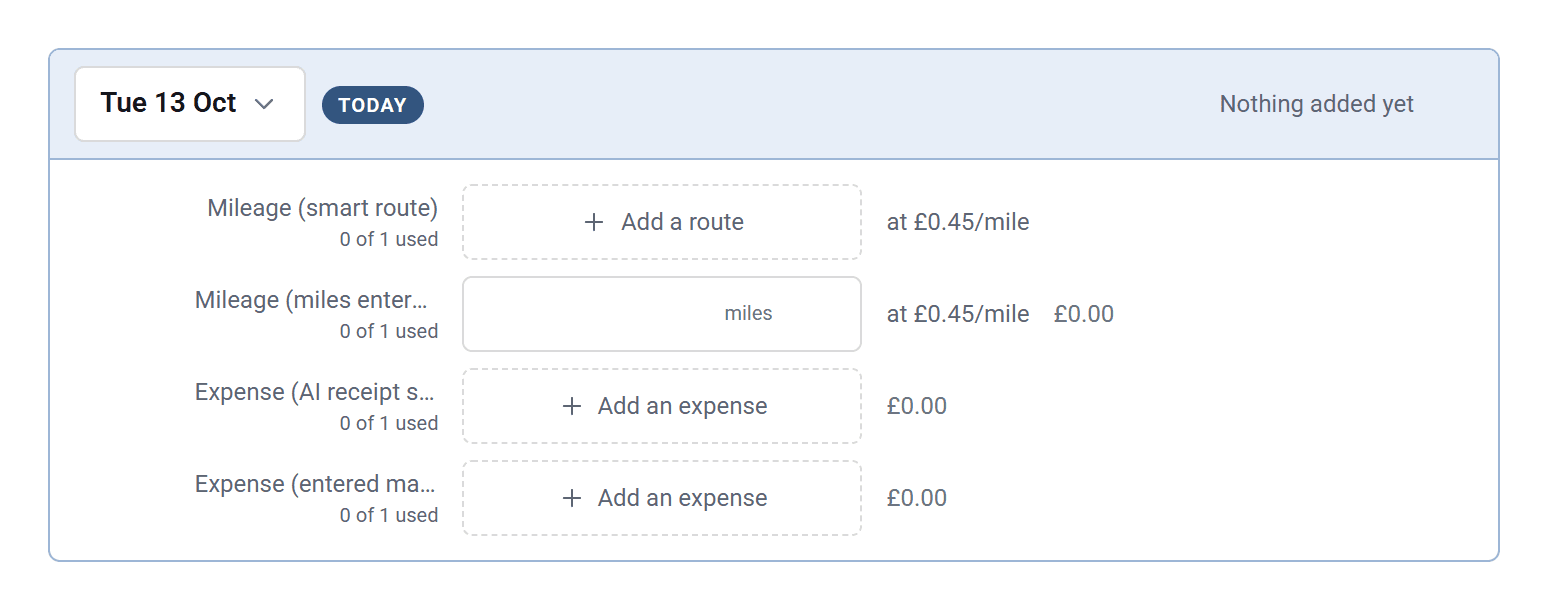
Your claim opens with today’s date. Click Add a date to add the next day, or click a date to change it.
If you start a claim by mistake, open it and click Delete.
Add a receipt
- 1
On the right day, click Add an expense (or Upload receipt, if your organisation needs one).
- 2
Take a photo of the receipt, or pick a photo or PDF. (With Add an expense, click Choose a file or photo first.)
- 3
Fill in the Amount, Vendor and Description, check the VAT, then click Add to day.
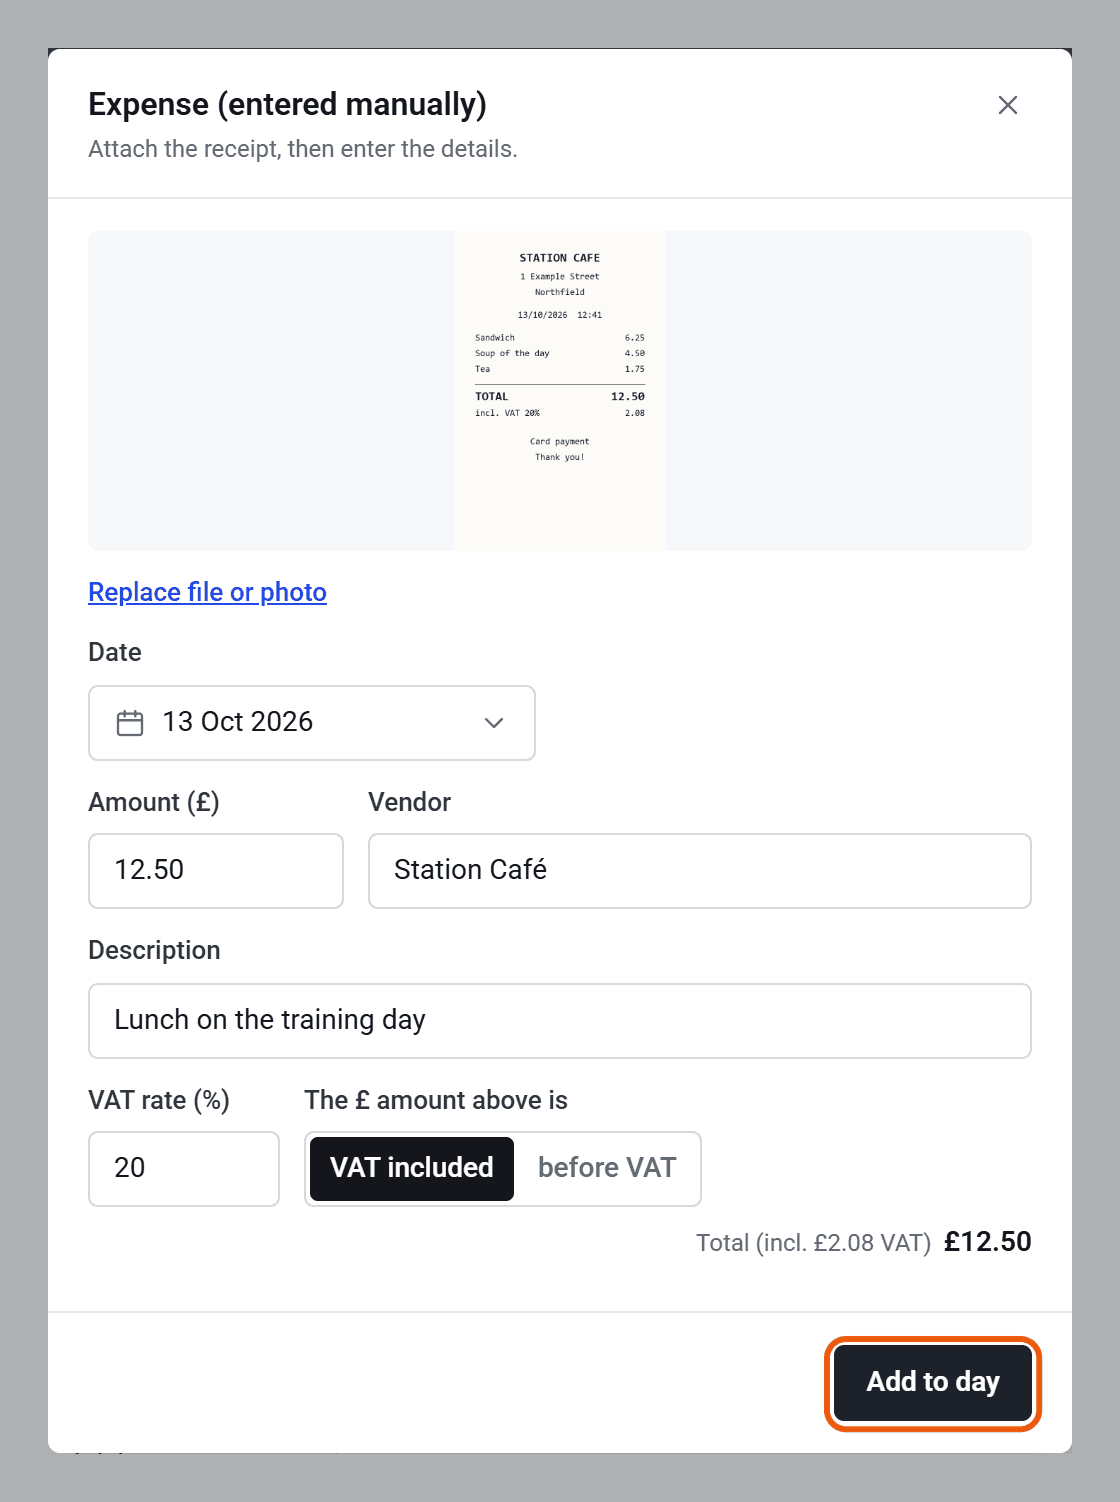
On an AI receipt scan expense, SaveTrees reads the amount, the VAT and the vendor off the receipt for you. Boxes it filled in turn green. If it isn’t sure, the box turns amber and asks you to check it. To type everything yourself, switch off AI auto-fill.
- Big phone photos are shrunk automatically before they’re sent. A PDF has to be under 4MB.
- Nothing is converted between currencies. If the receipt is in a different currency, you’ll see a warning, so enter the amount in the currency shown on the Amount box.
- To change an expense, click it. To swap the receipt, click Replace file or photo.
Add mileage
If your claim has a box marked miles, type the number of miles straight in. The rate per mile and the amount appear next to it.
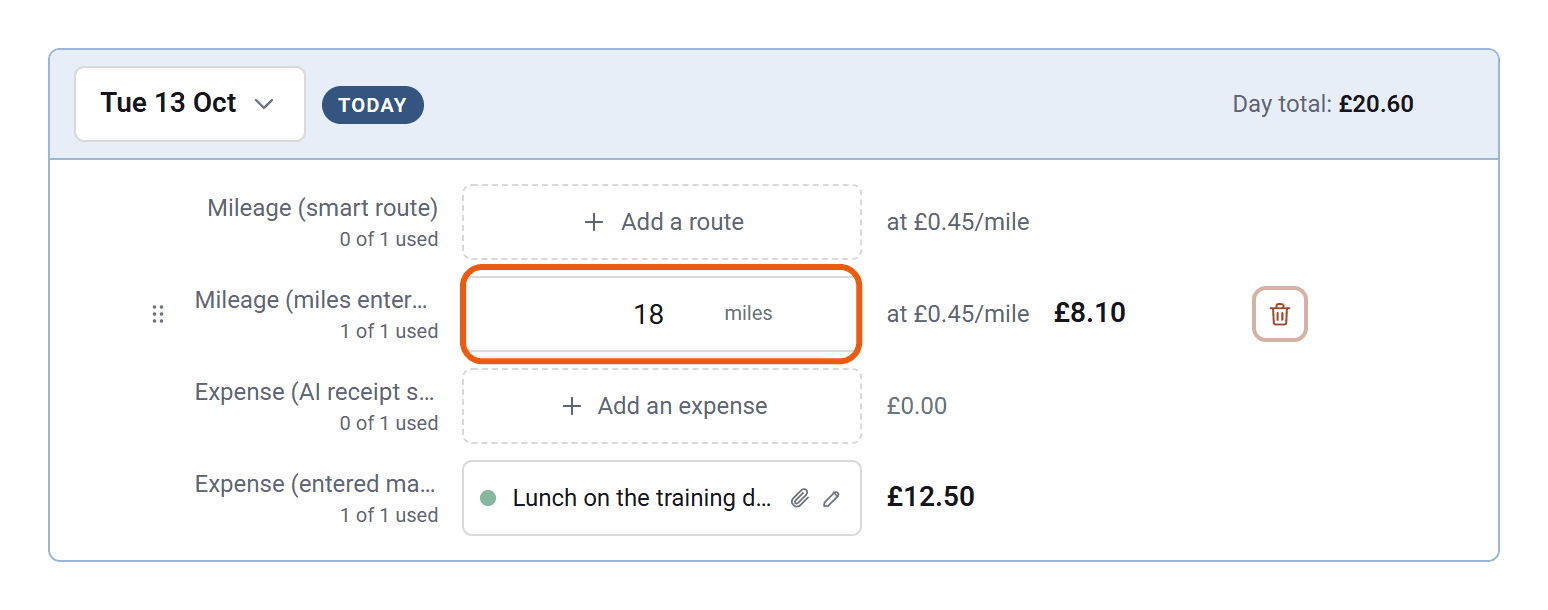
To work out a journey instead:
- 1
Click Add a route.
- 2
Start typing where you set off from in From, and pick it from the suggestions. Do the same in To.
- 3
The distance is worked out and shown on a map. Switch on return trip if you drove back.
- 4
Click Add to day.
Places you use often appear under Locations, so next time you can pick them with one tap. To change a journey, click it and change just the end you need to.
Add more
- Click + on a line to add another of the same kind on that day, if your organisation allows more than one.
- Click Add row to add a kind of expense that isn’t showing.
- Each day shows its total, and Totals at the bottom adds up the whole claim.
Save or send it
Click Save as draft to carry on later. When it’s complete, click Send for authorisation.
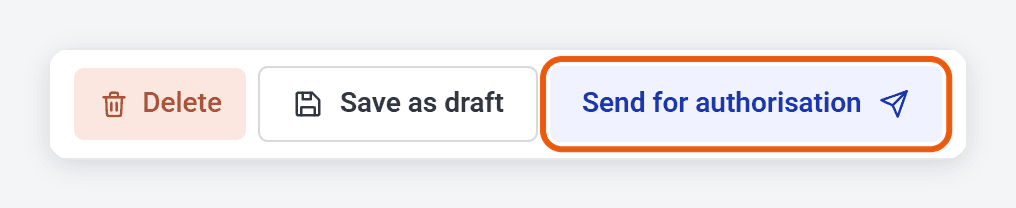
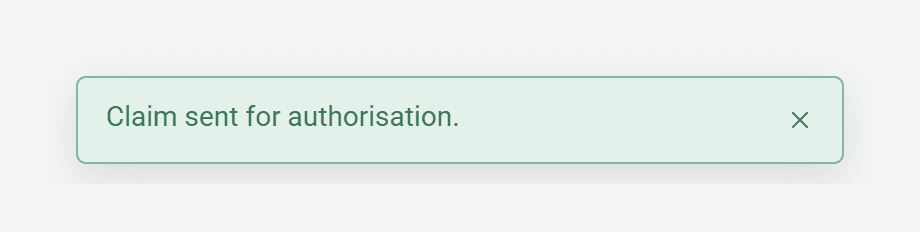
You’ll go back to your list and see Claim sent for authorisation. Your claim then shows as Pending, with who it’s waiting on.
If Send for authorisation is greyed out, the reason is shown next to it, for example a receipt or description that’s still needed.
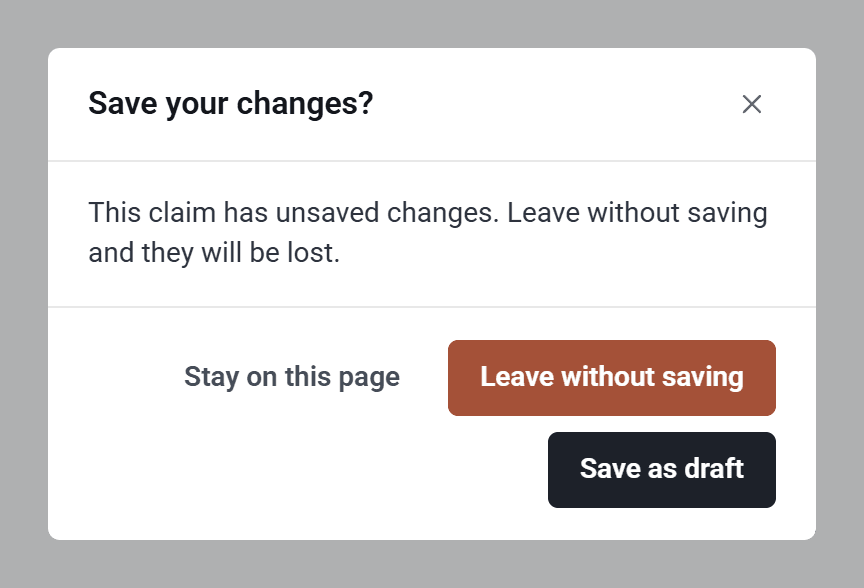
If you click away with changes you haven’t saved, SaveTrees asks whether to save them first.
After you send it
- Pending: waiting for your authoriser. You can’t change it now, but you can delete it if you sent it by mistake.
- Accepted: approved, and nothing more to do. We email you a copy.
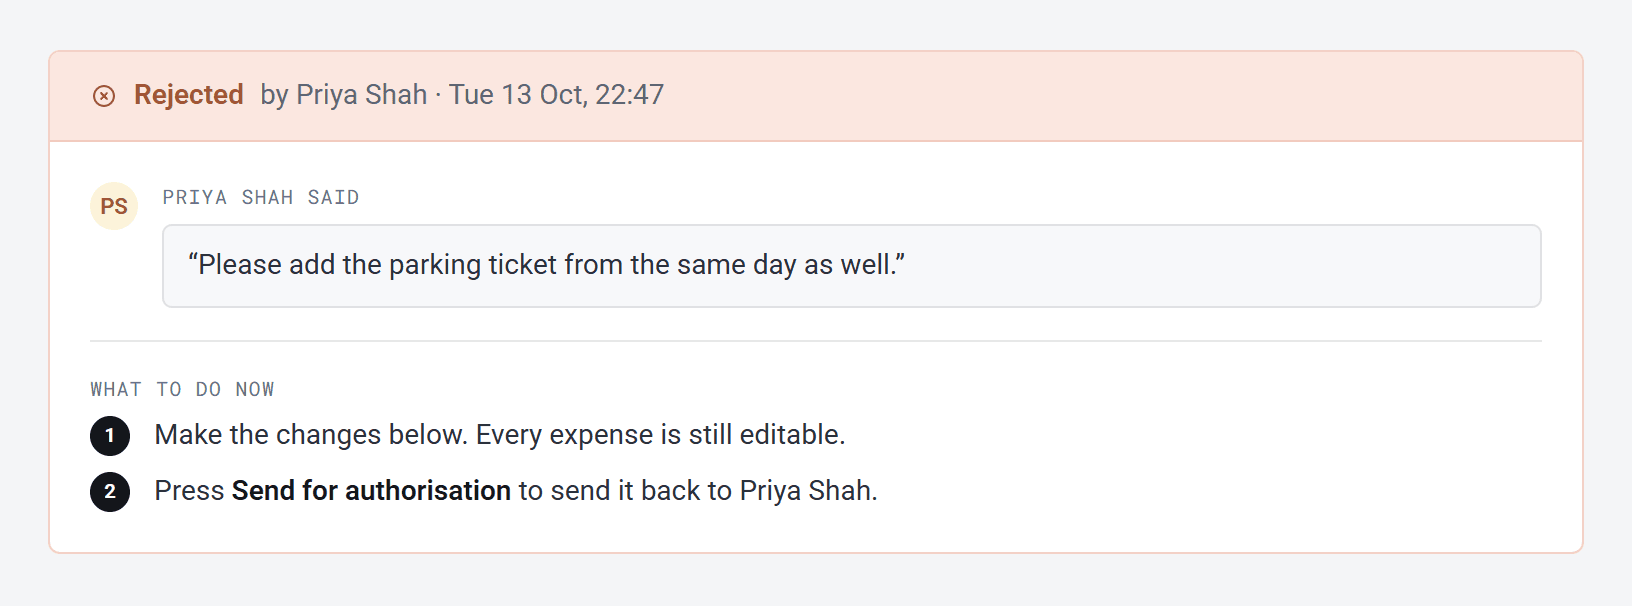
- Rejected: sent back to you with a reason, and we email you. See below.
- Draft: saved but not sent yet.
You can turn the accepted and rejected emails off in Settings, under Email preferences.
If your claim is rejected
- 1
Open the claim from the email, or from Expenses. The reason is shown under the claim details.
- 2
Make the changes. Every expense can still be edited.
- 3
Click Send for authorisation to send it back.
If you save it as a draft in the meantime, it stays Rejected and the reason stays on the page until you send it again.