Making the system look like your own
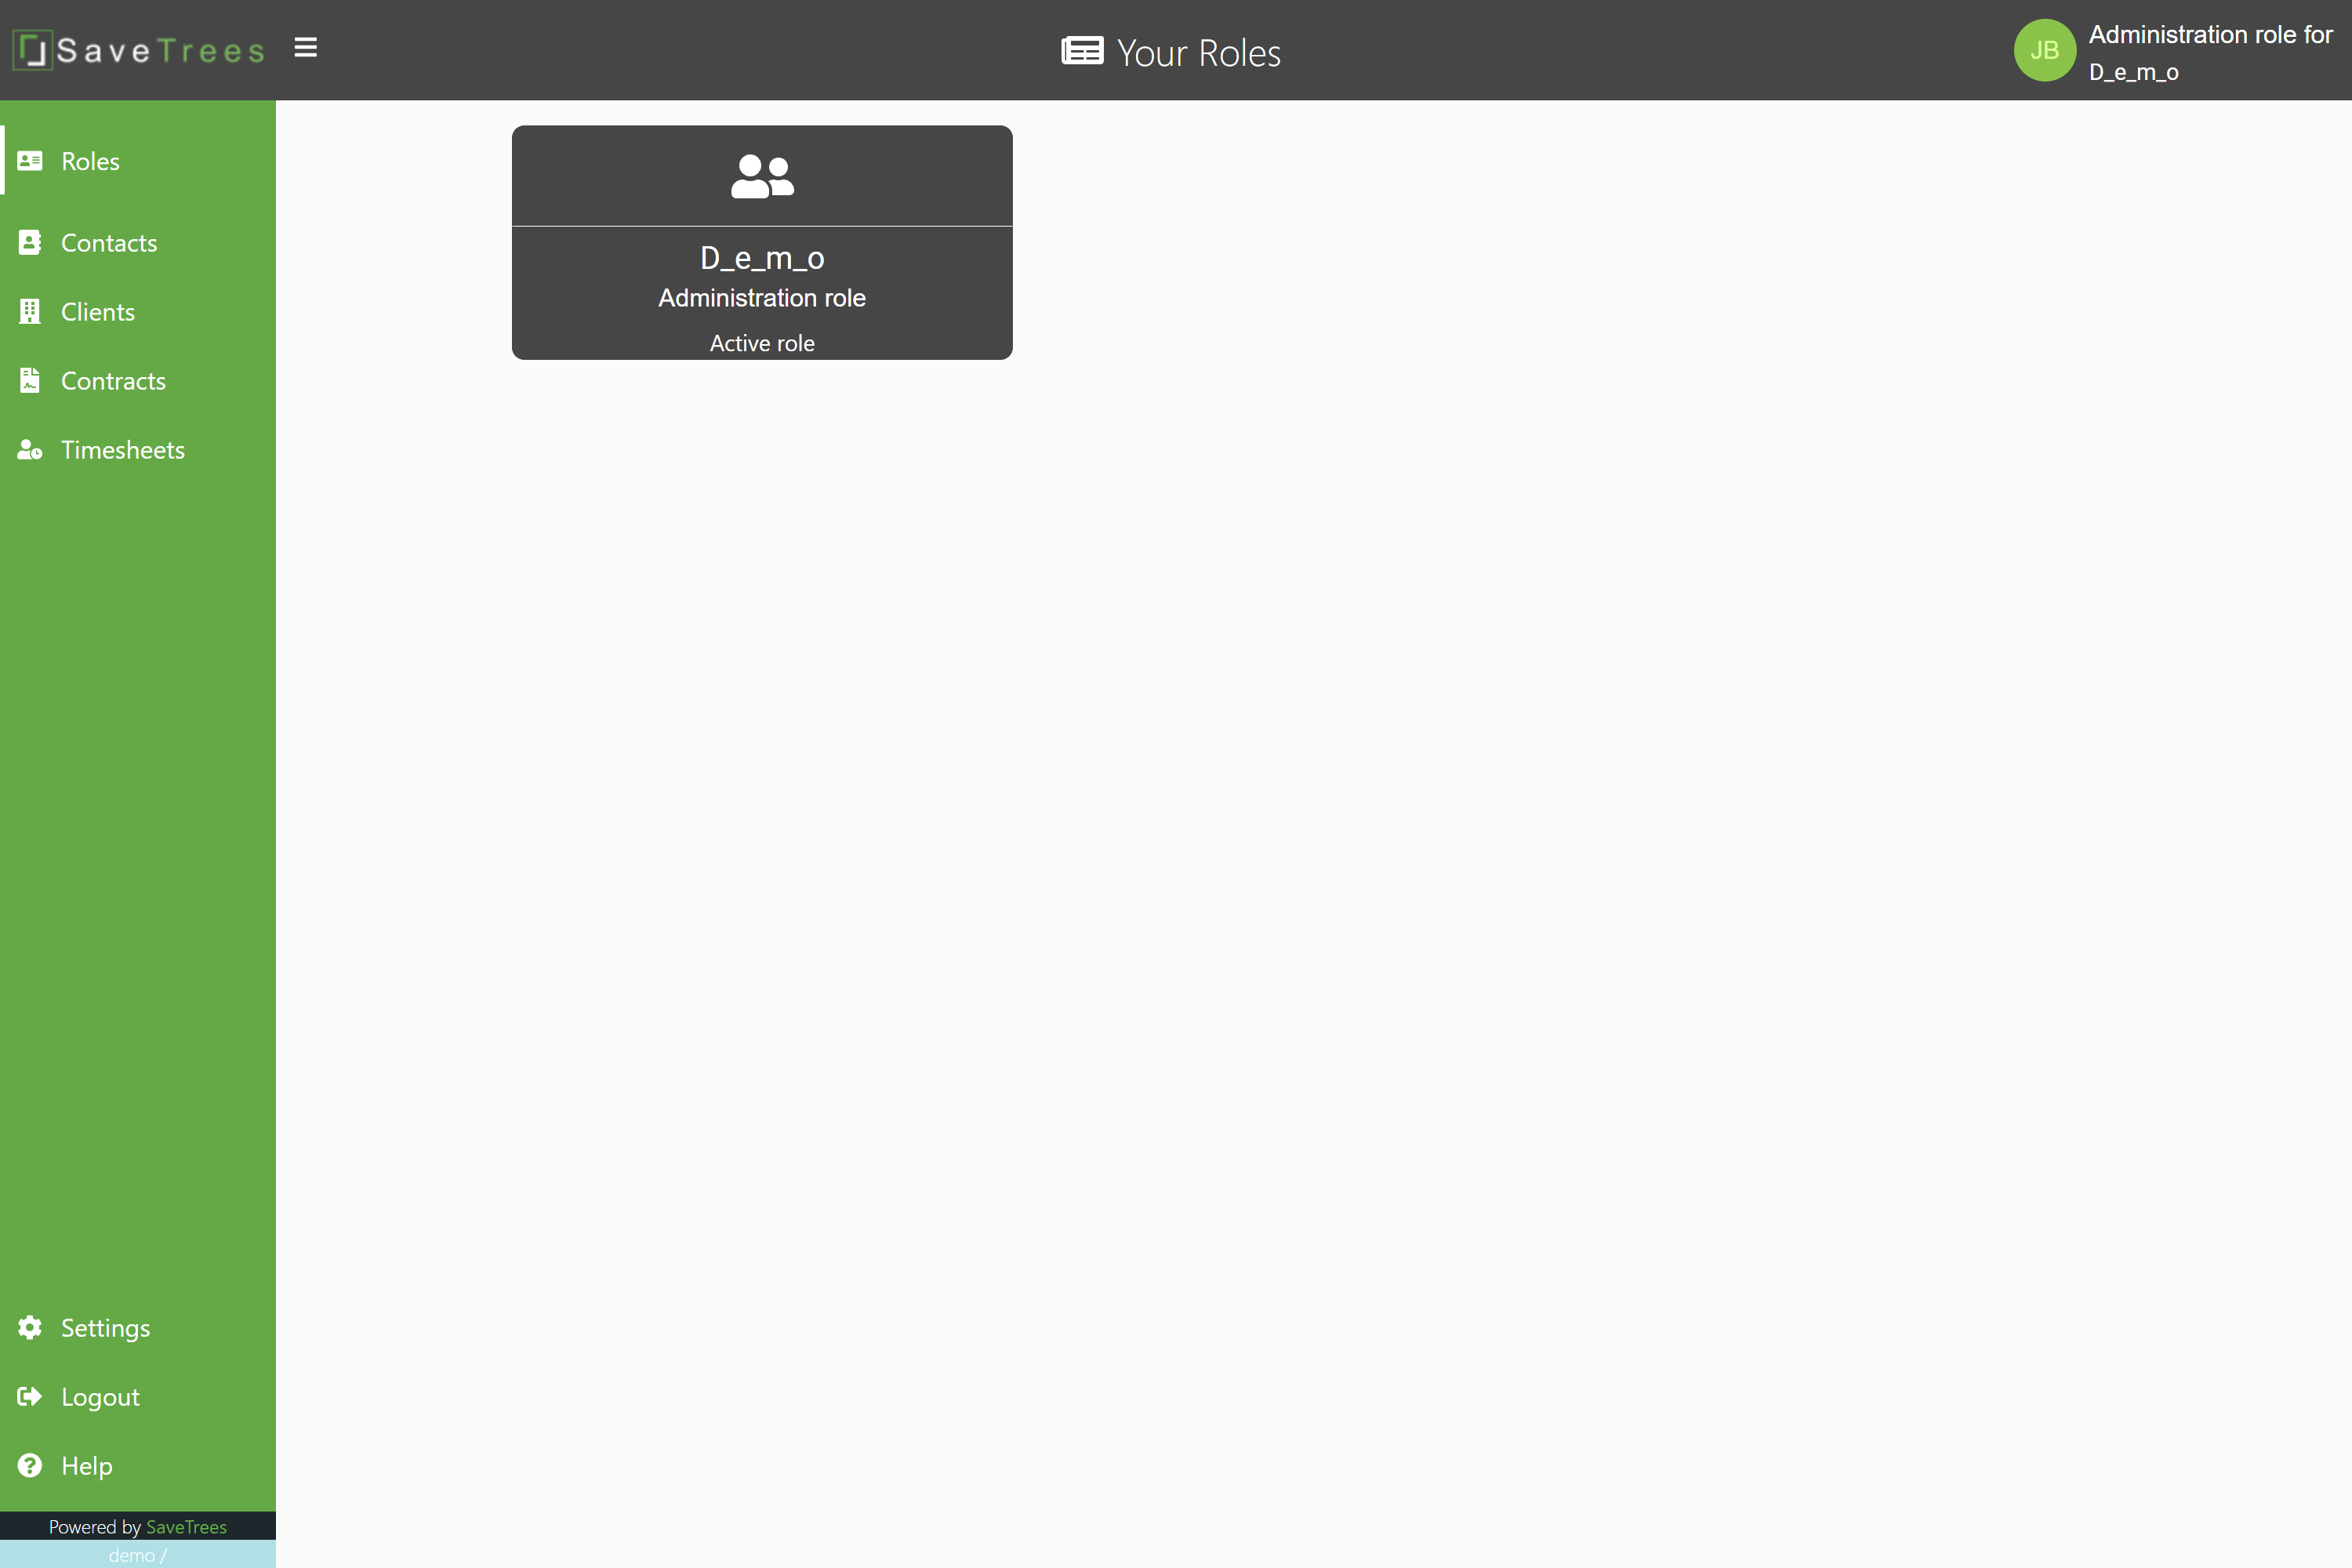
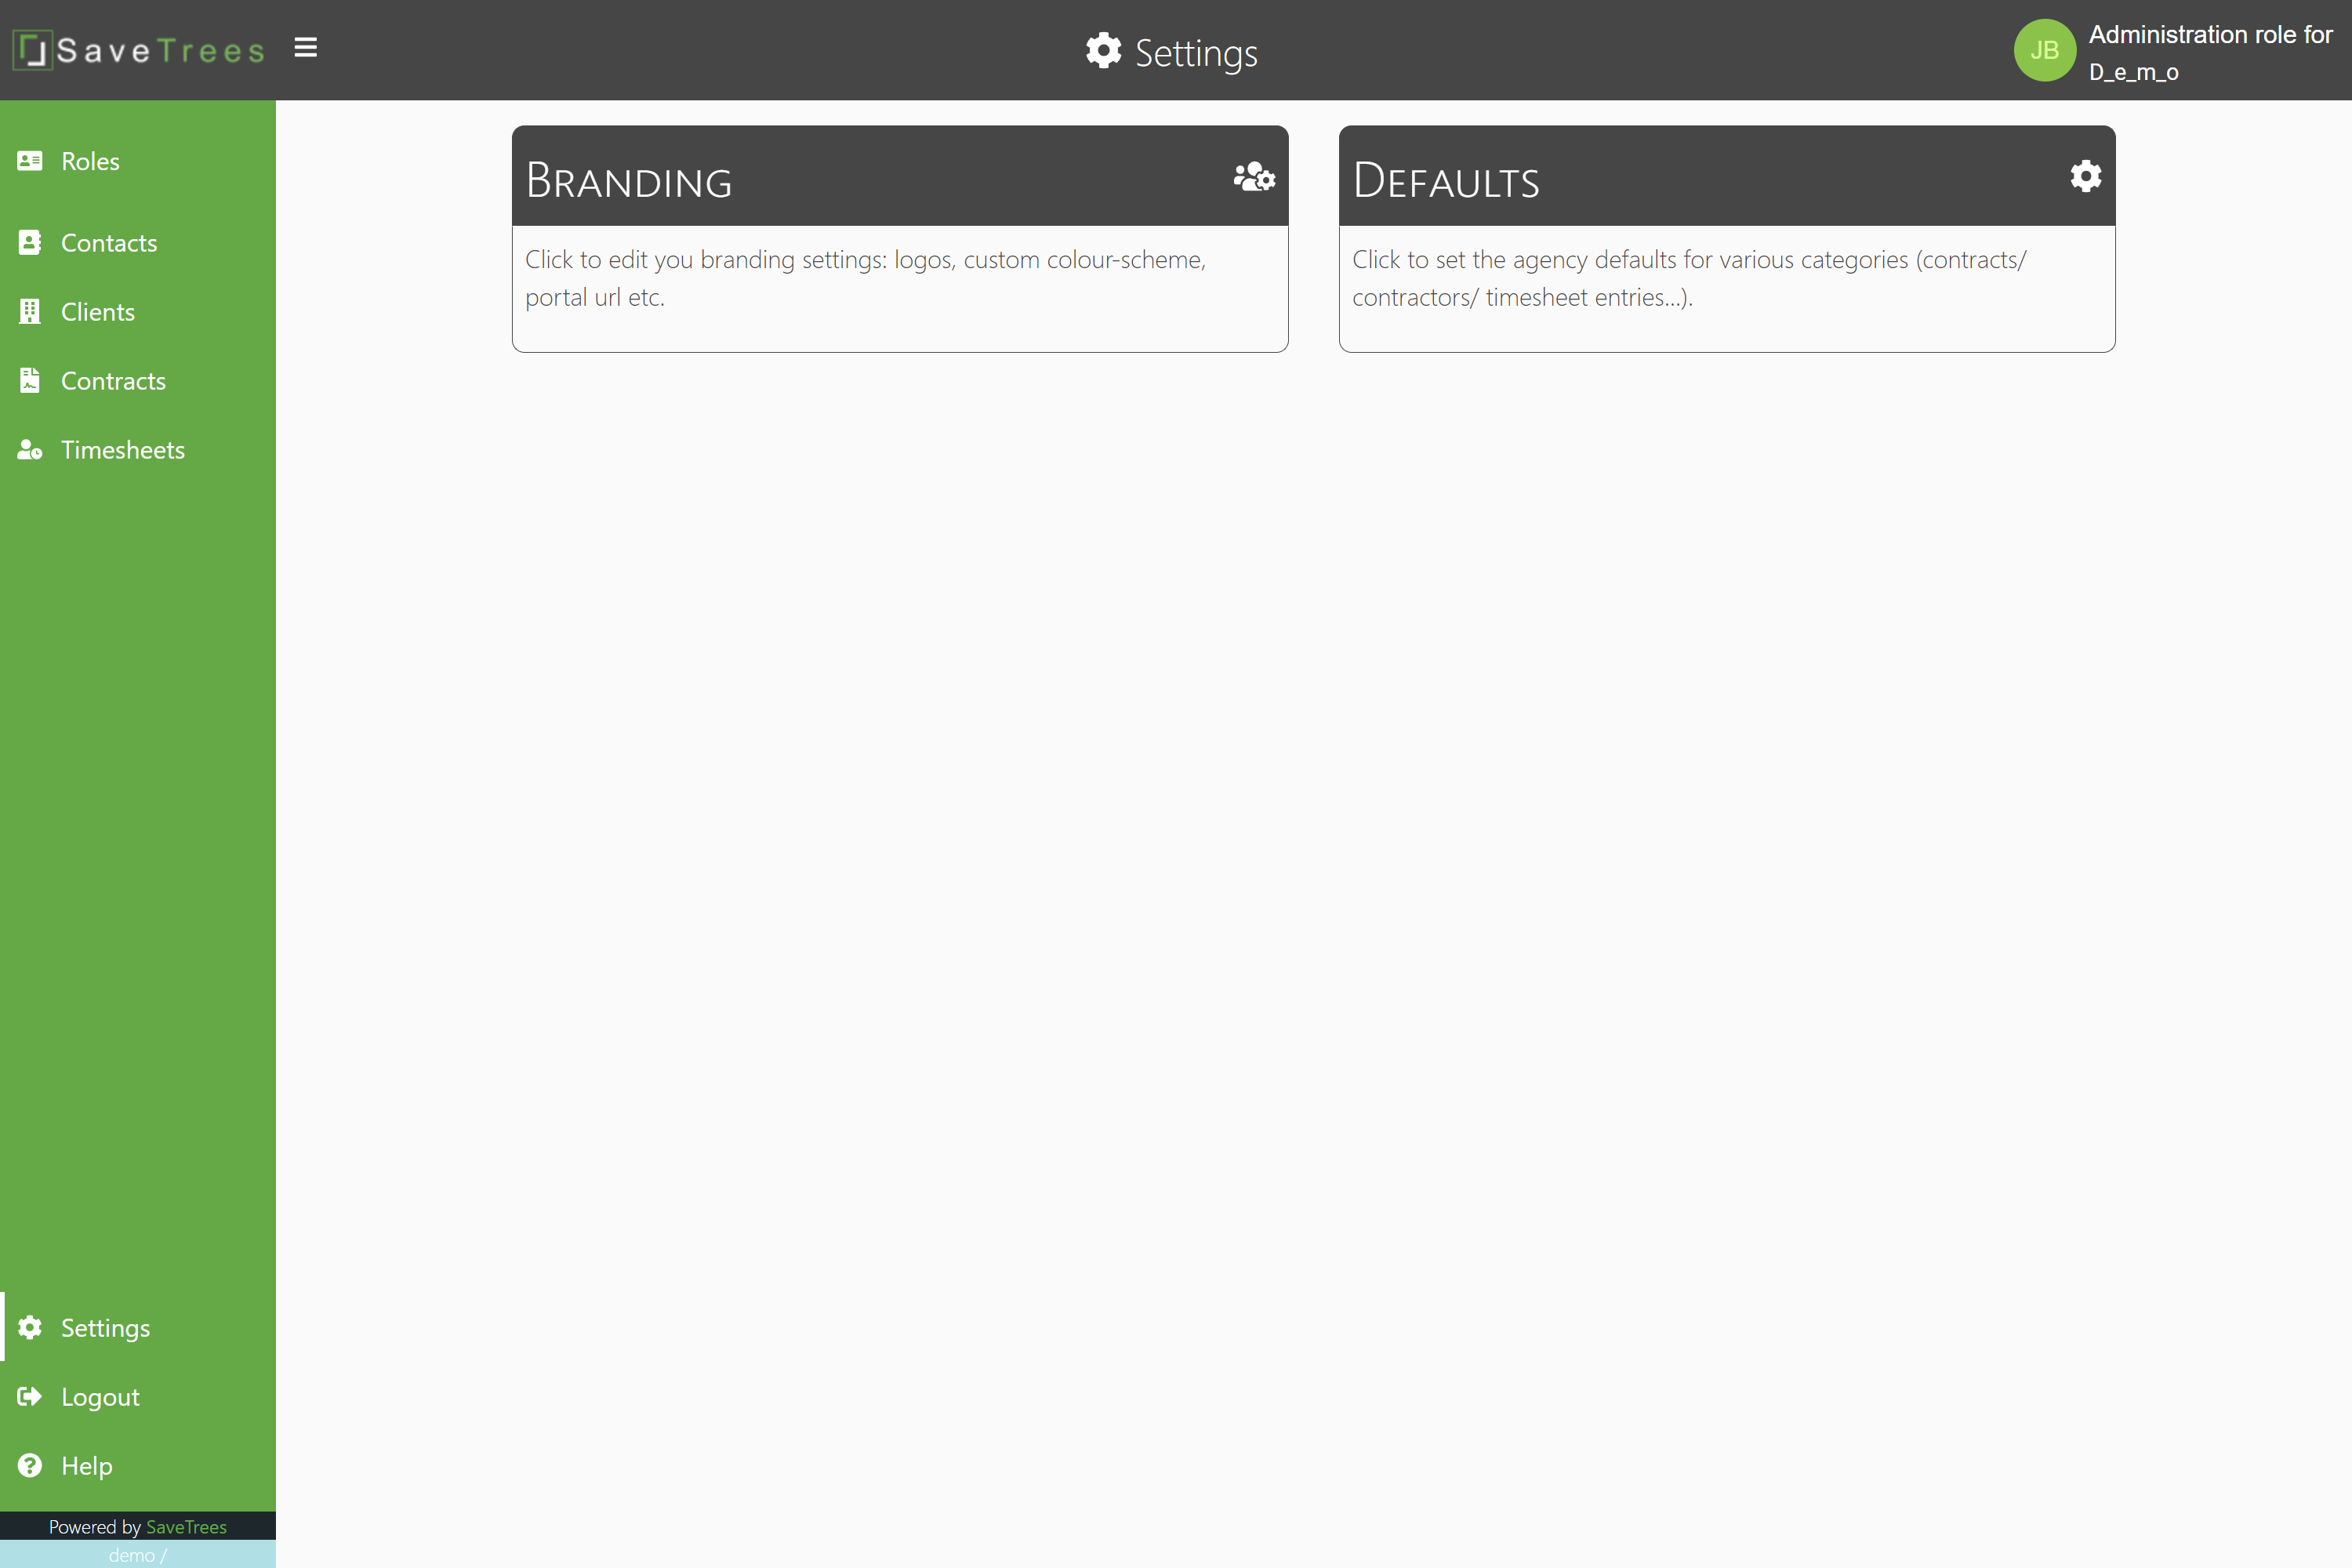
To set up the system so that it complements your own branding, follow the steps below:
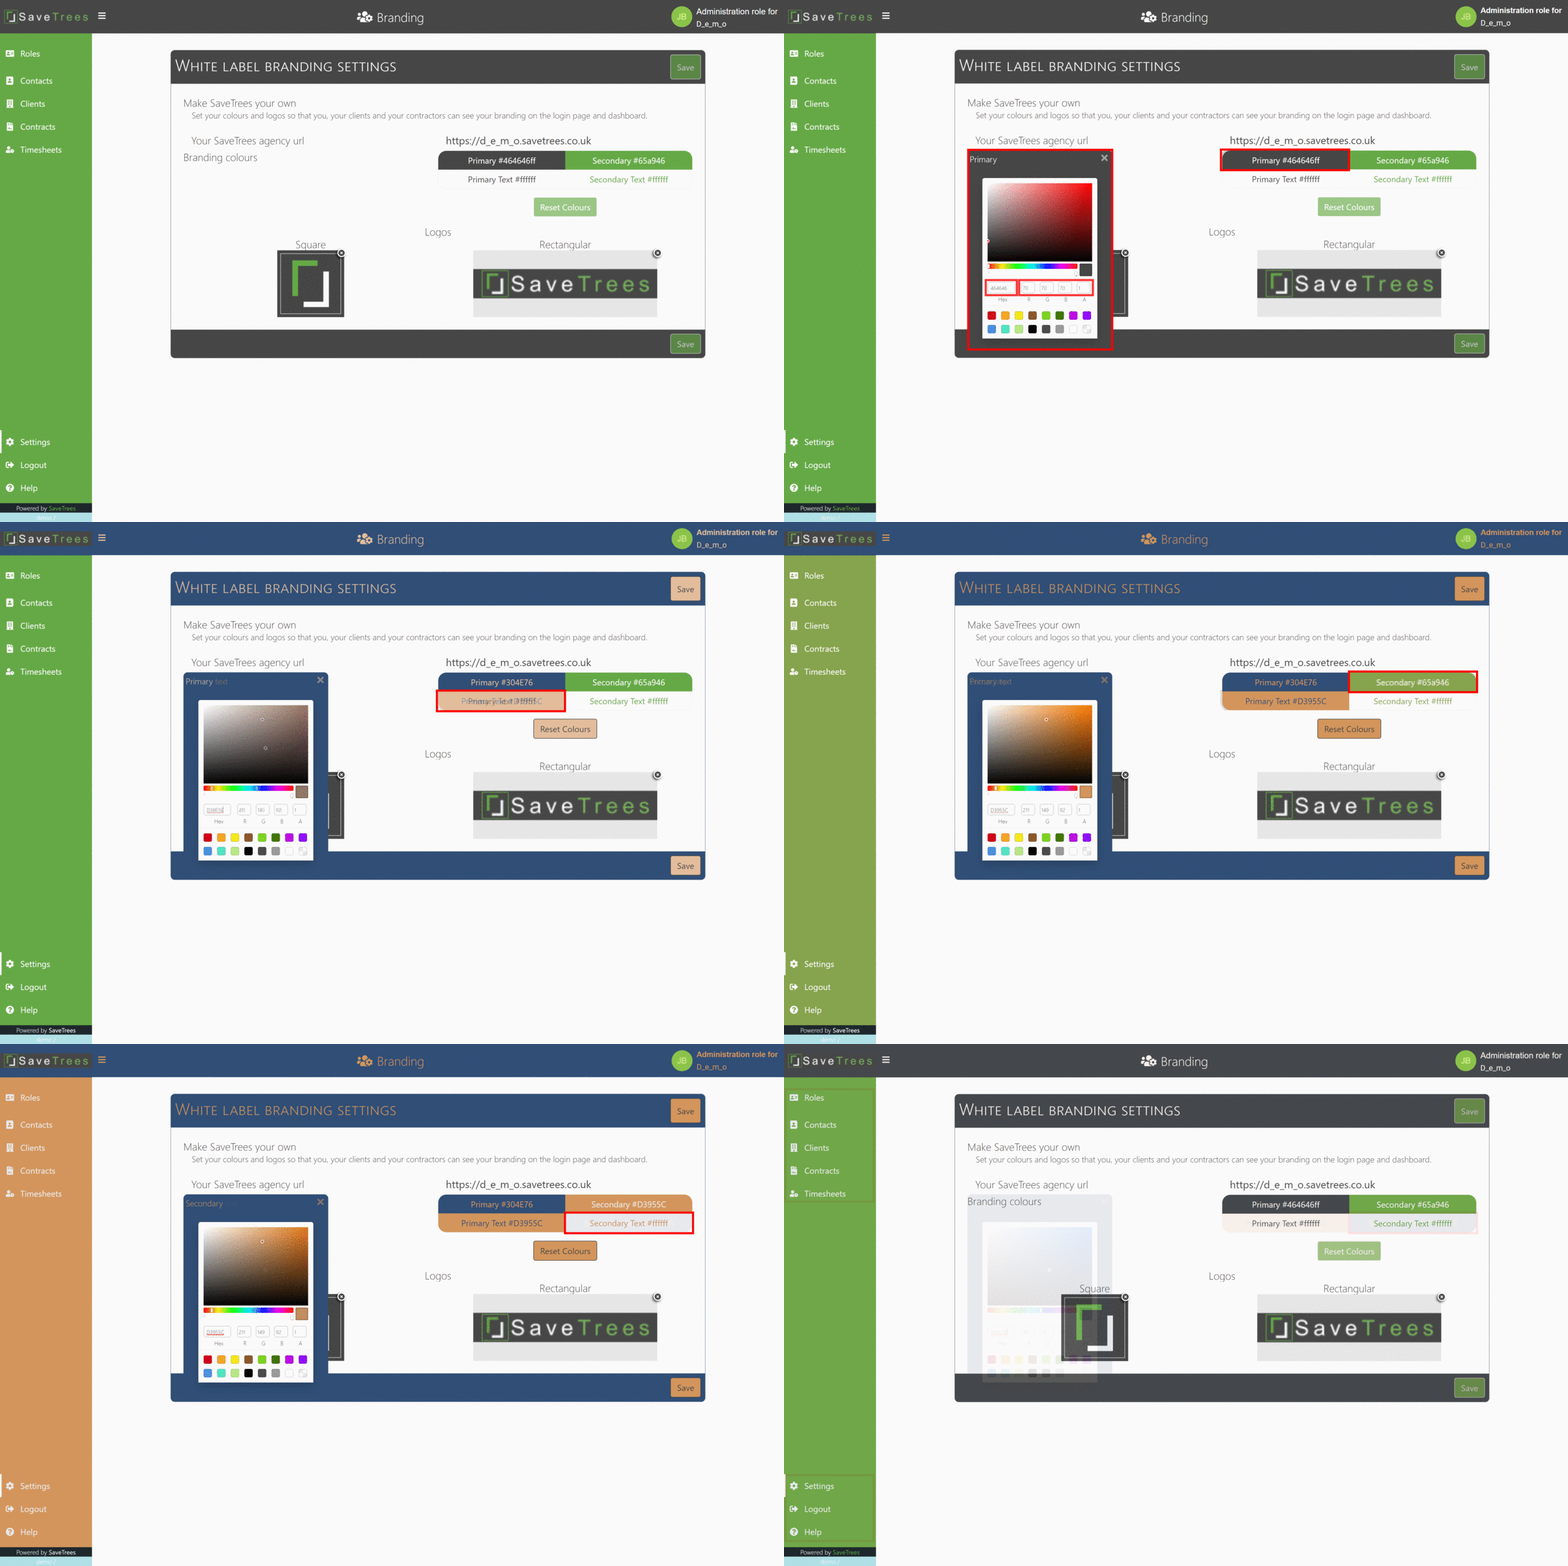
4. Select your agency colours
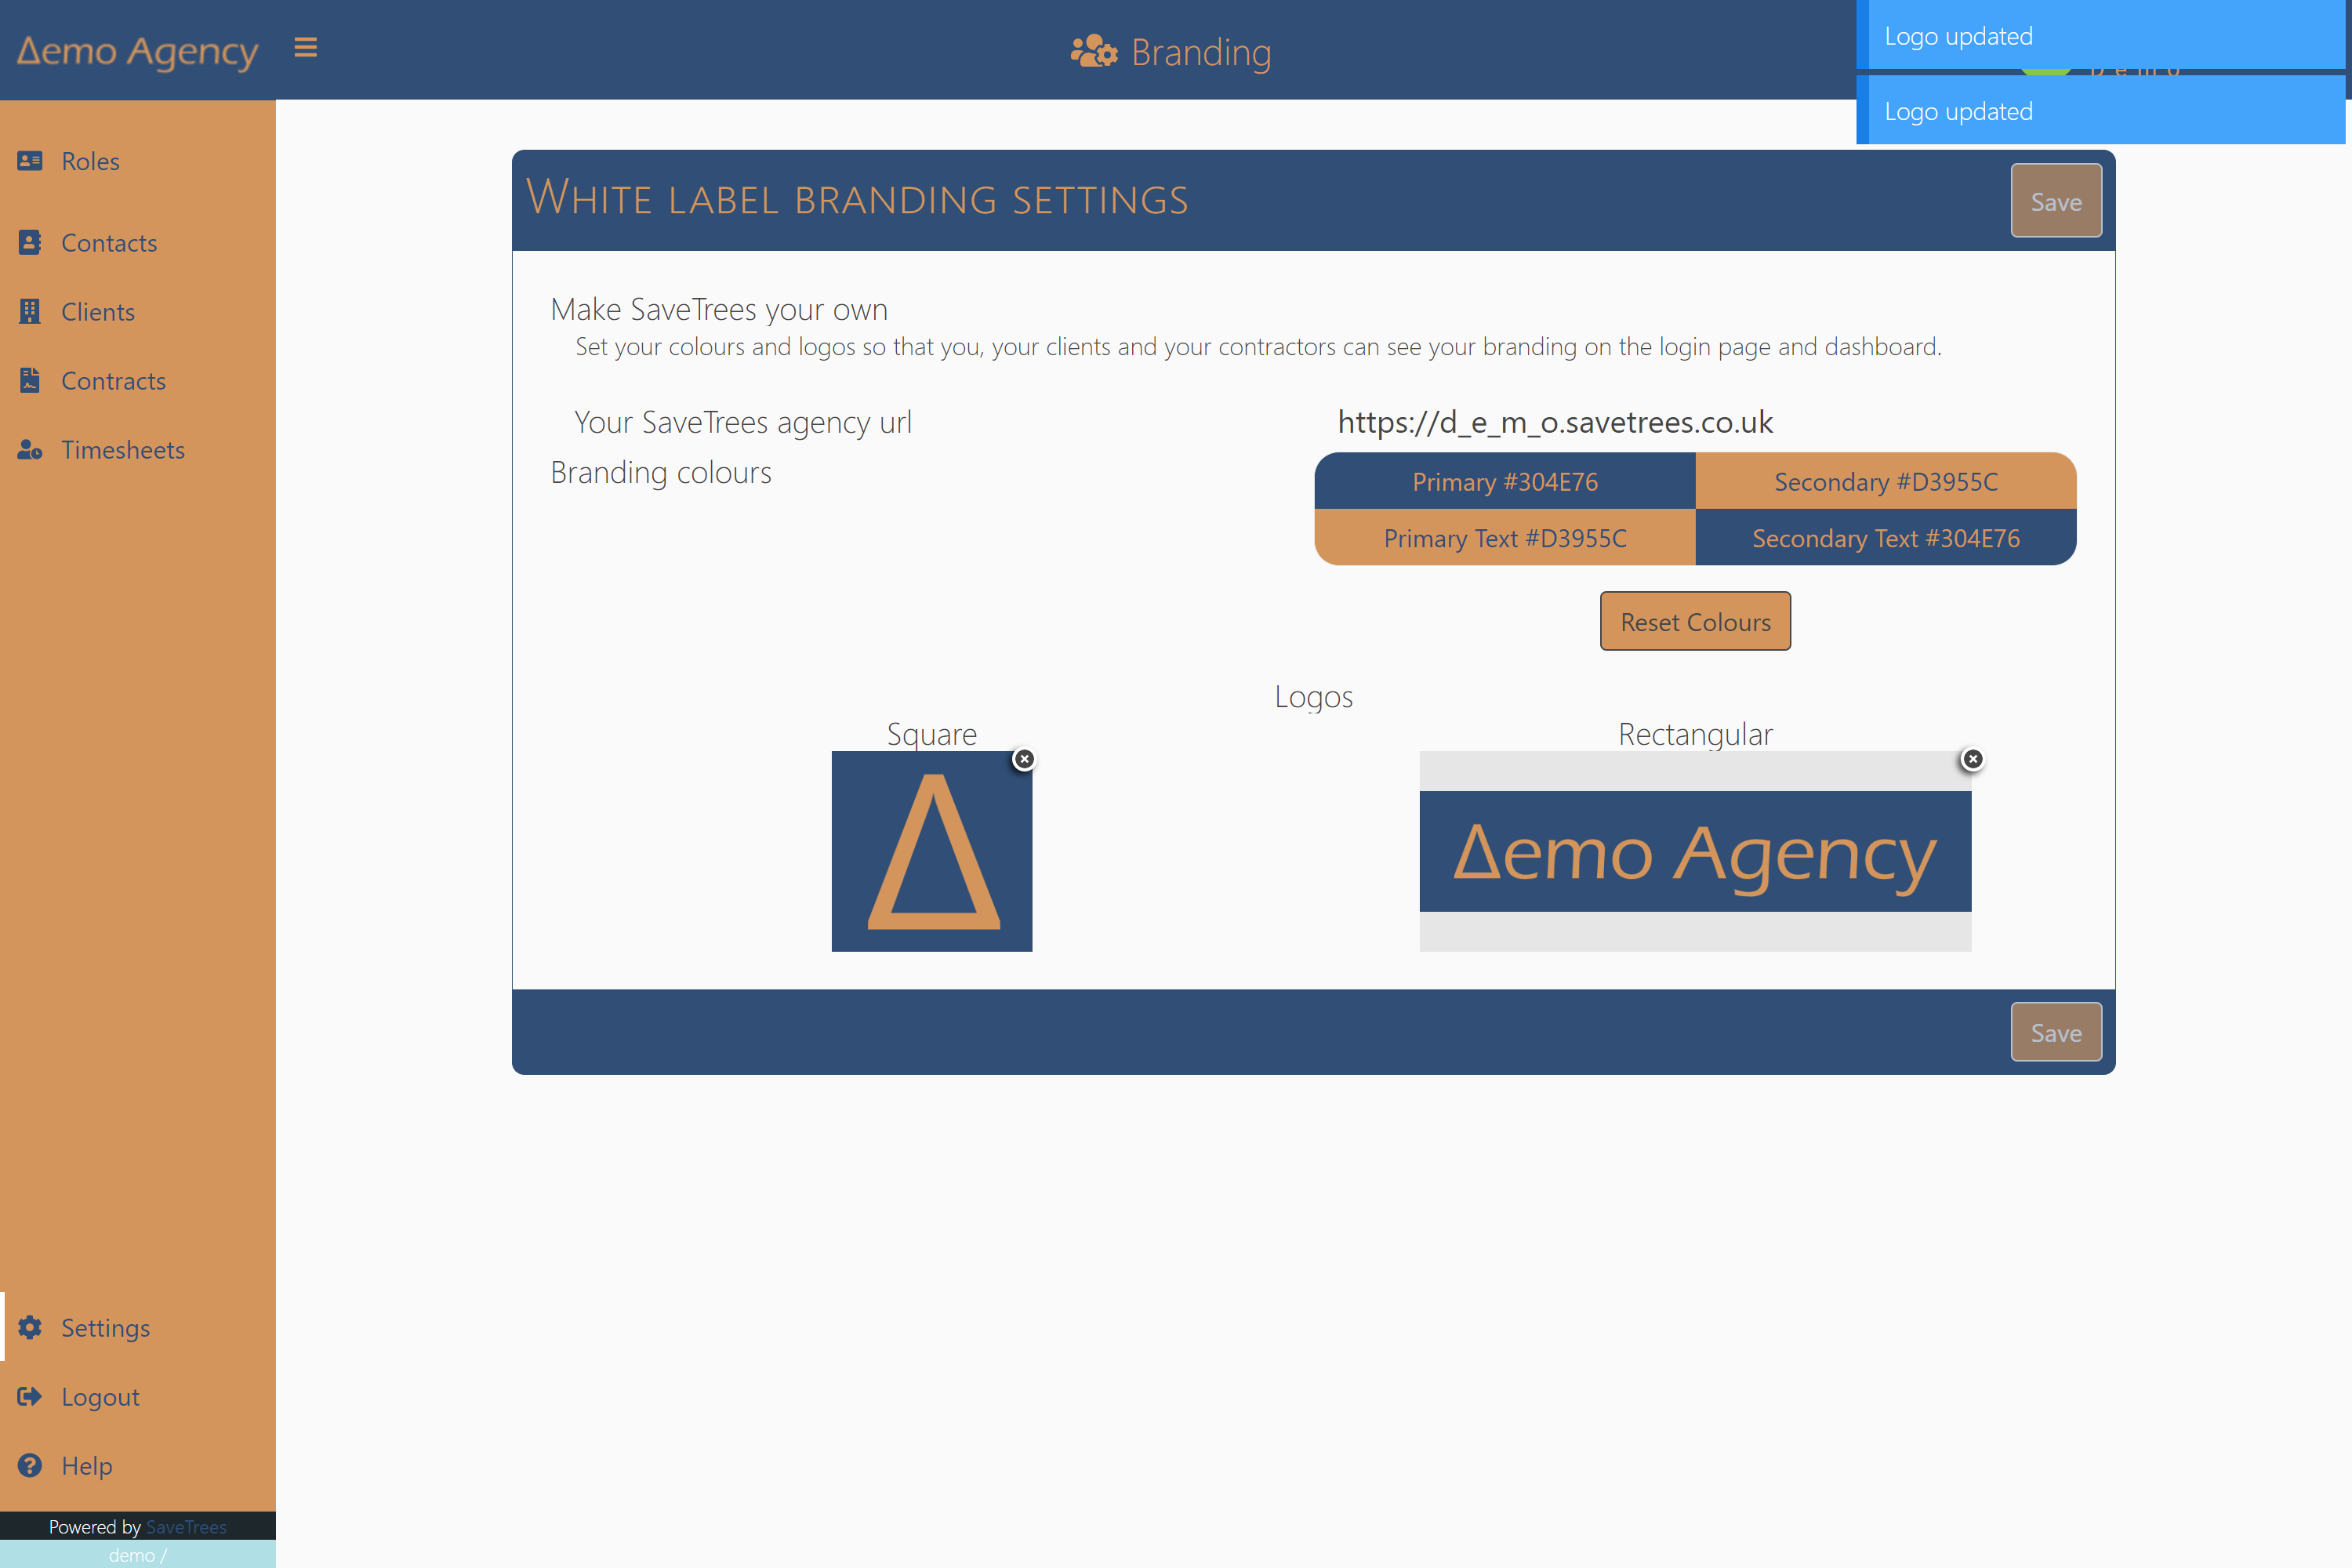
Select the colours you would like to use. You get two of these, a primary and a secondary and each has a text colour.
Primary sets the colours for:
- The header bar along the top of the dashboard
- The header of various forms
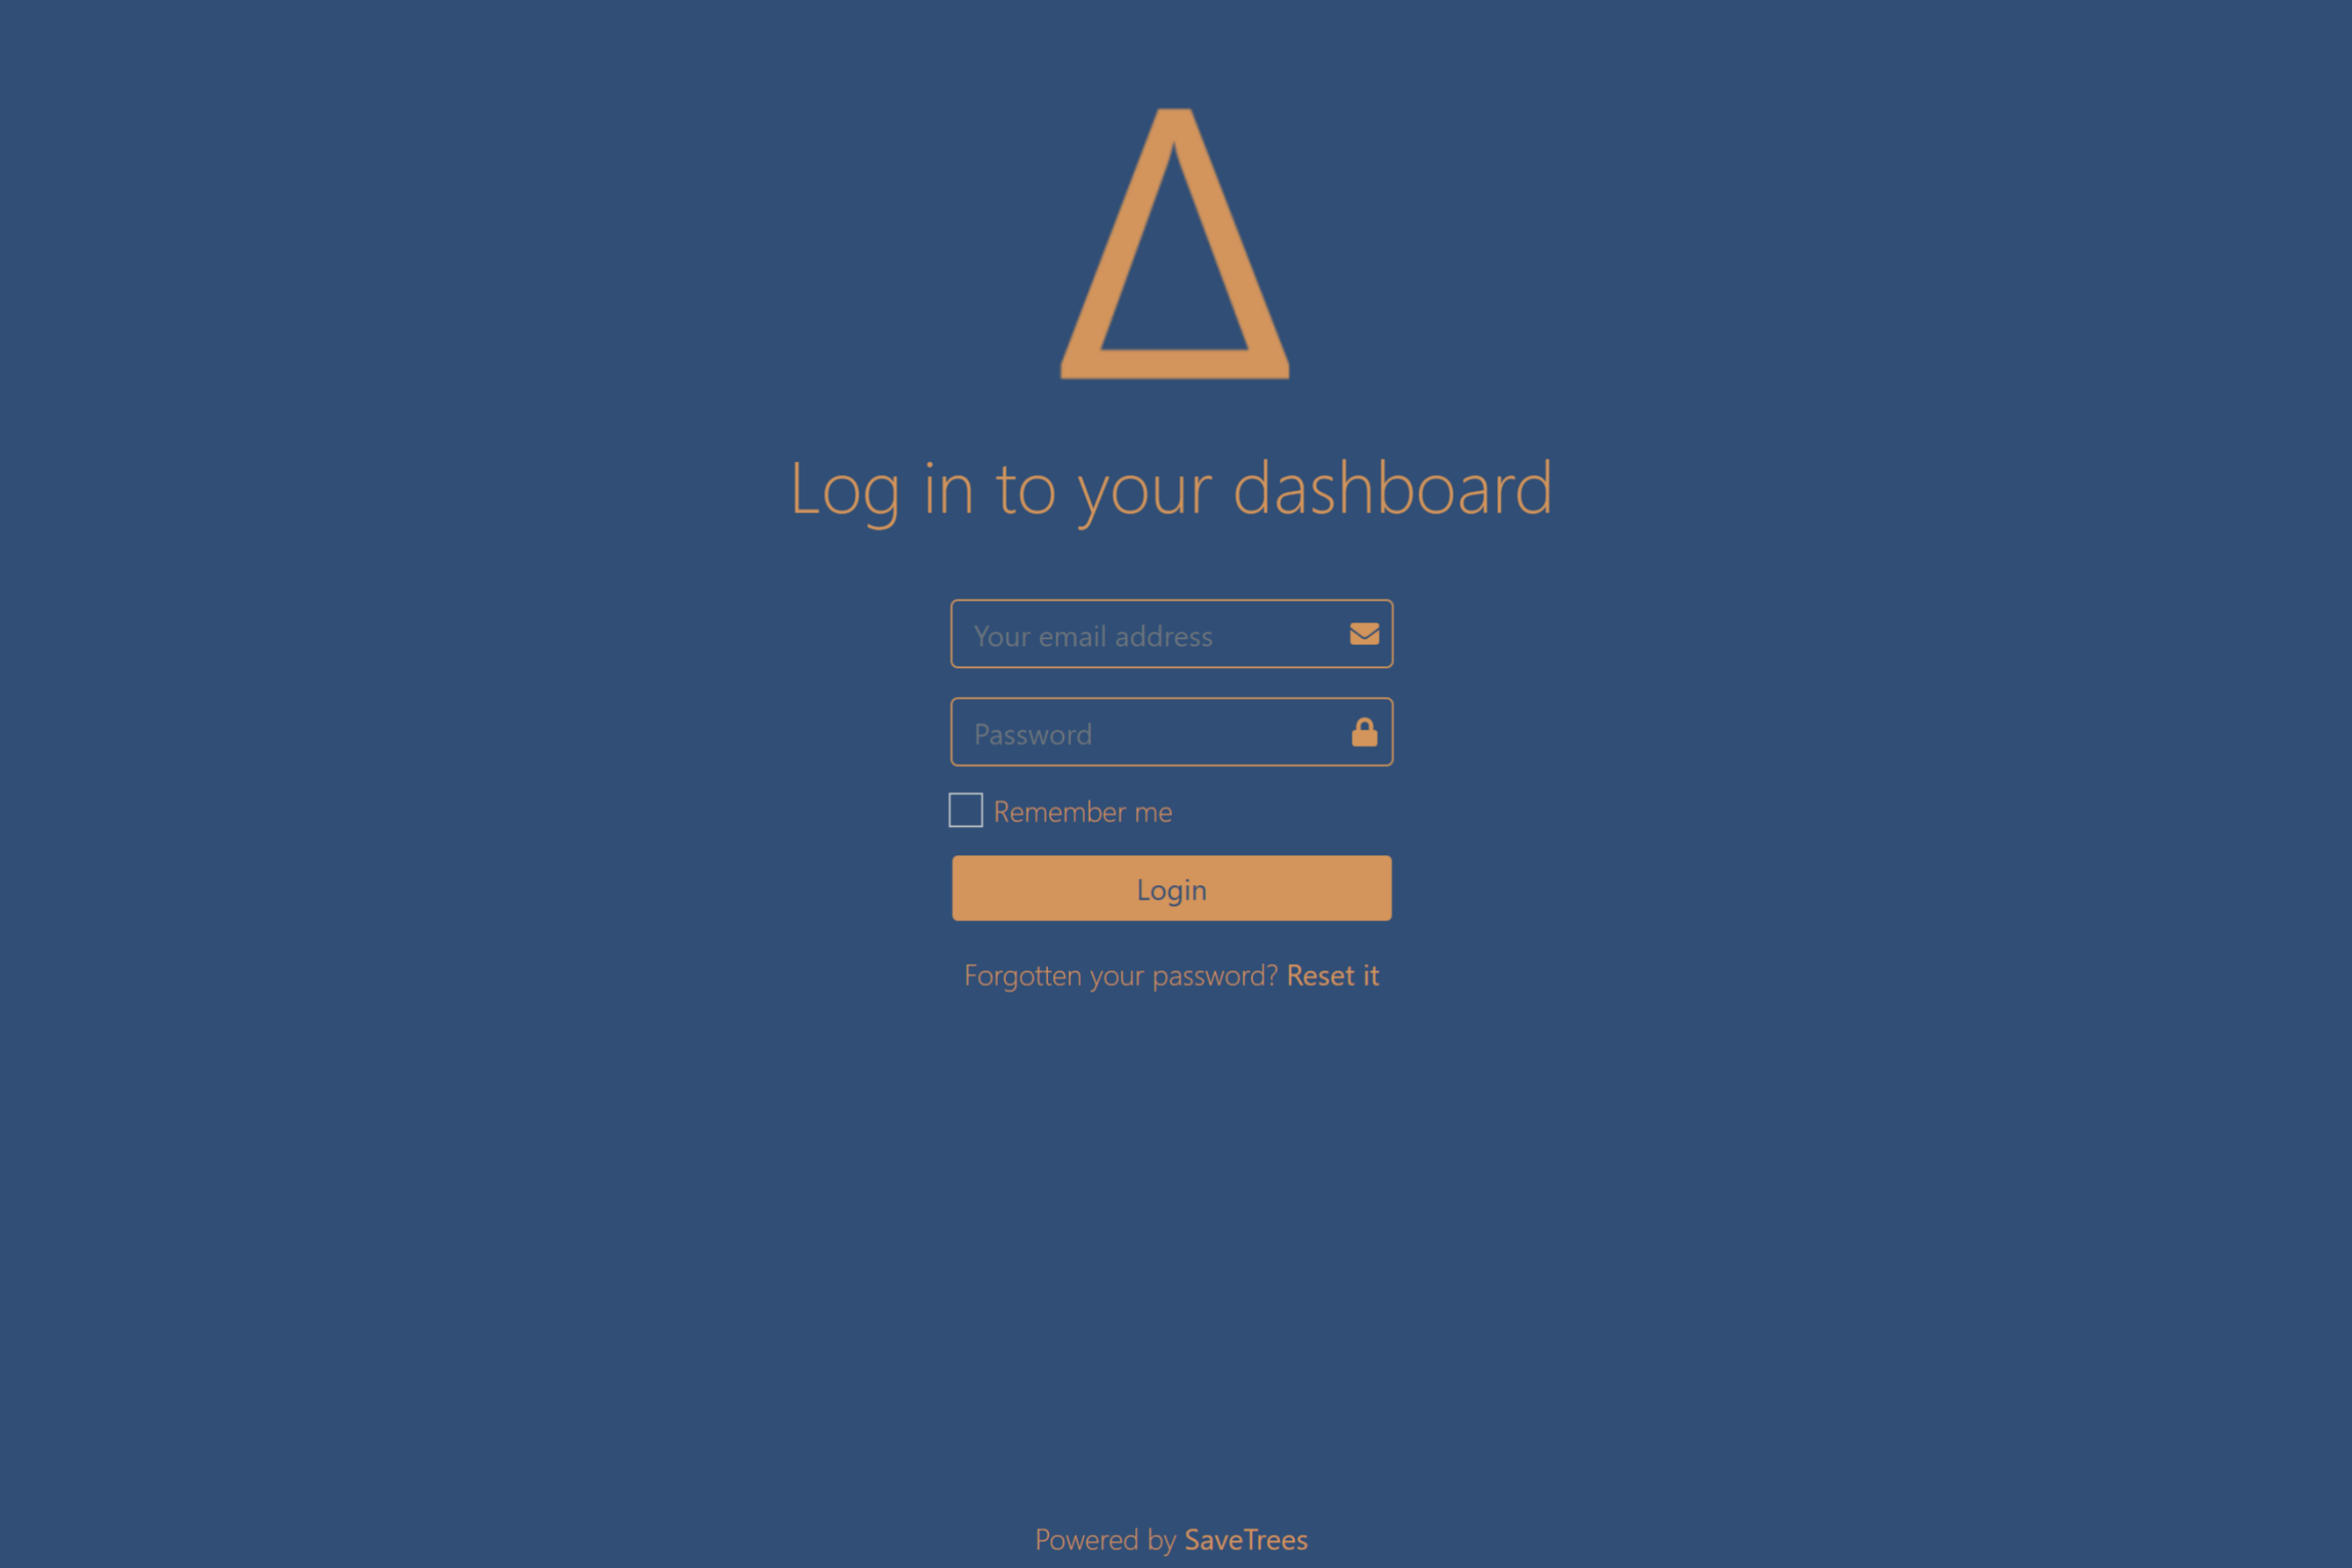
- Background to your agencies login page
- The header of the emails that are sent from your agency
- Buttons
Secondary sets the colour for:
- The left hand side bar and text
5. Choose a square logo or icon
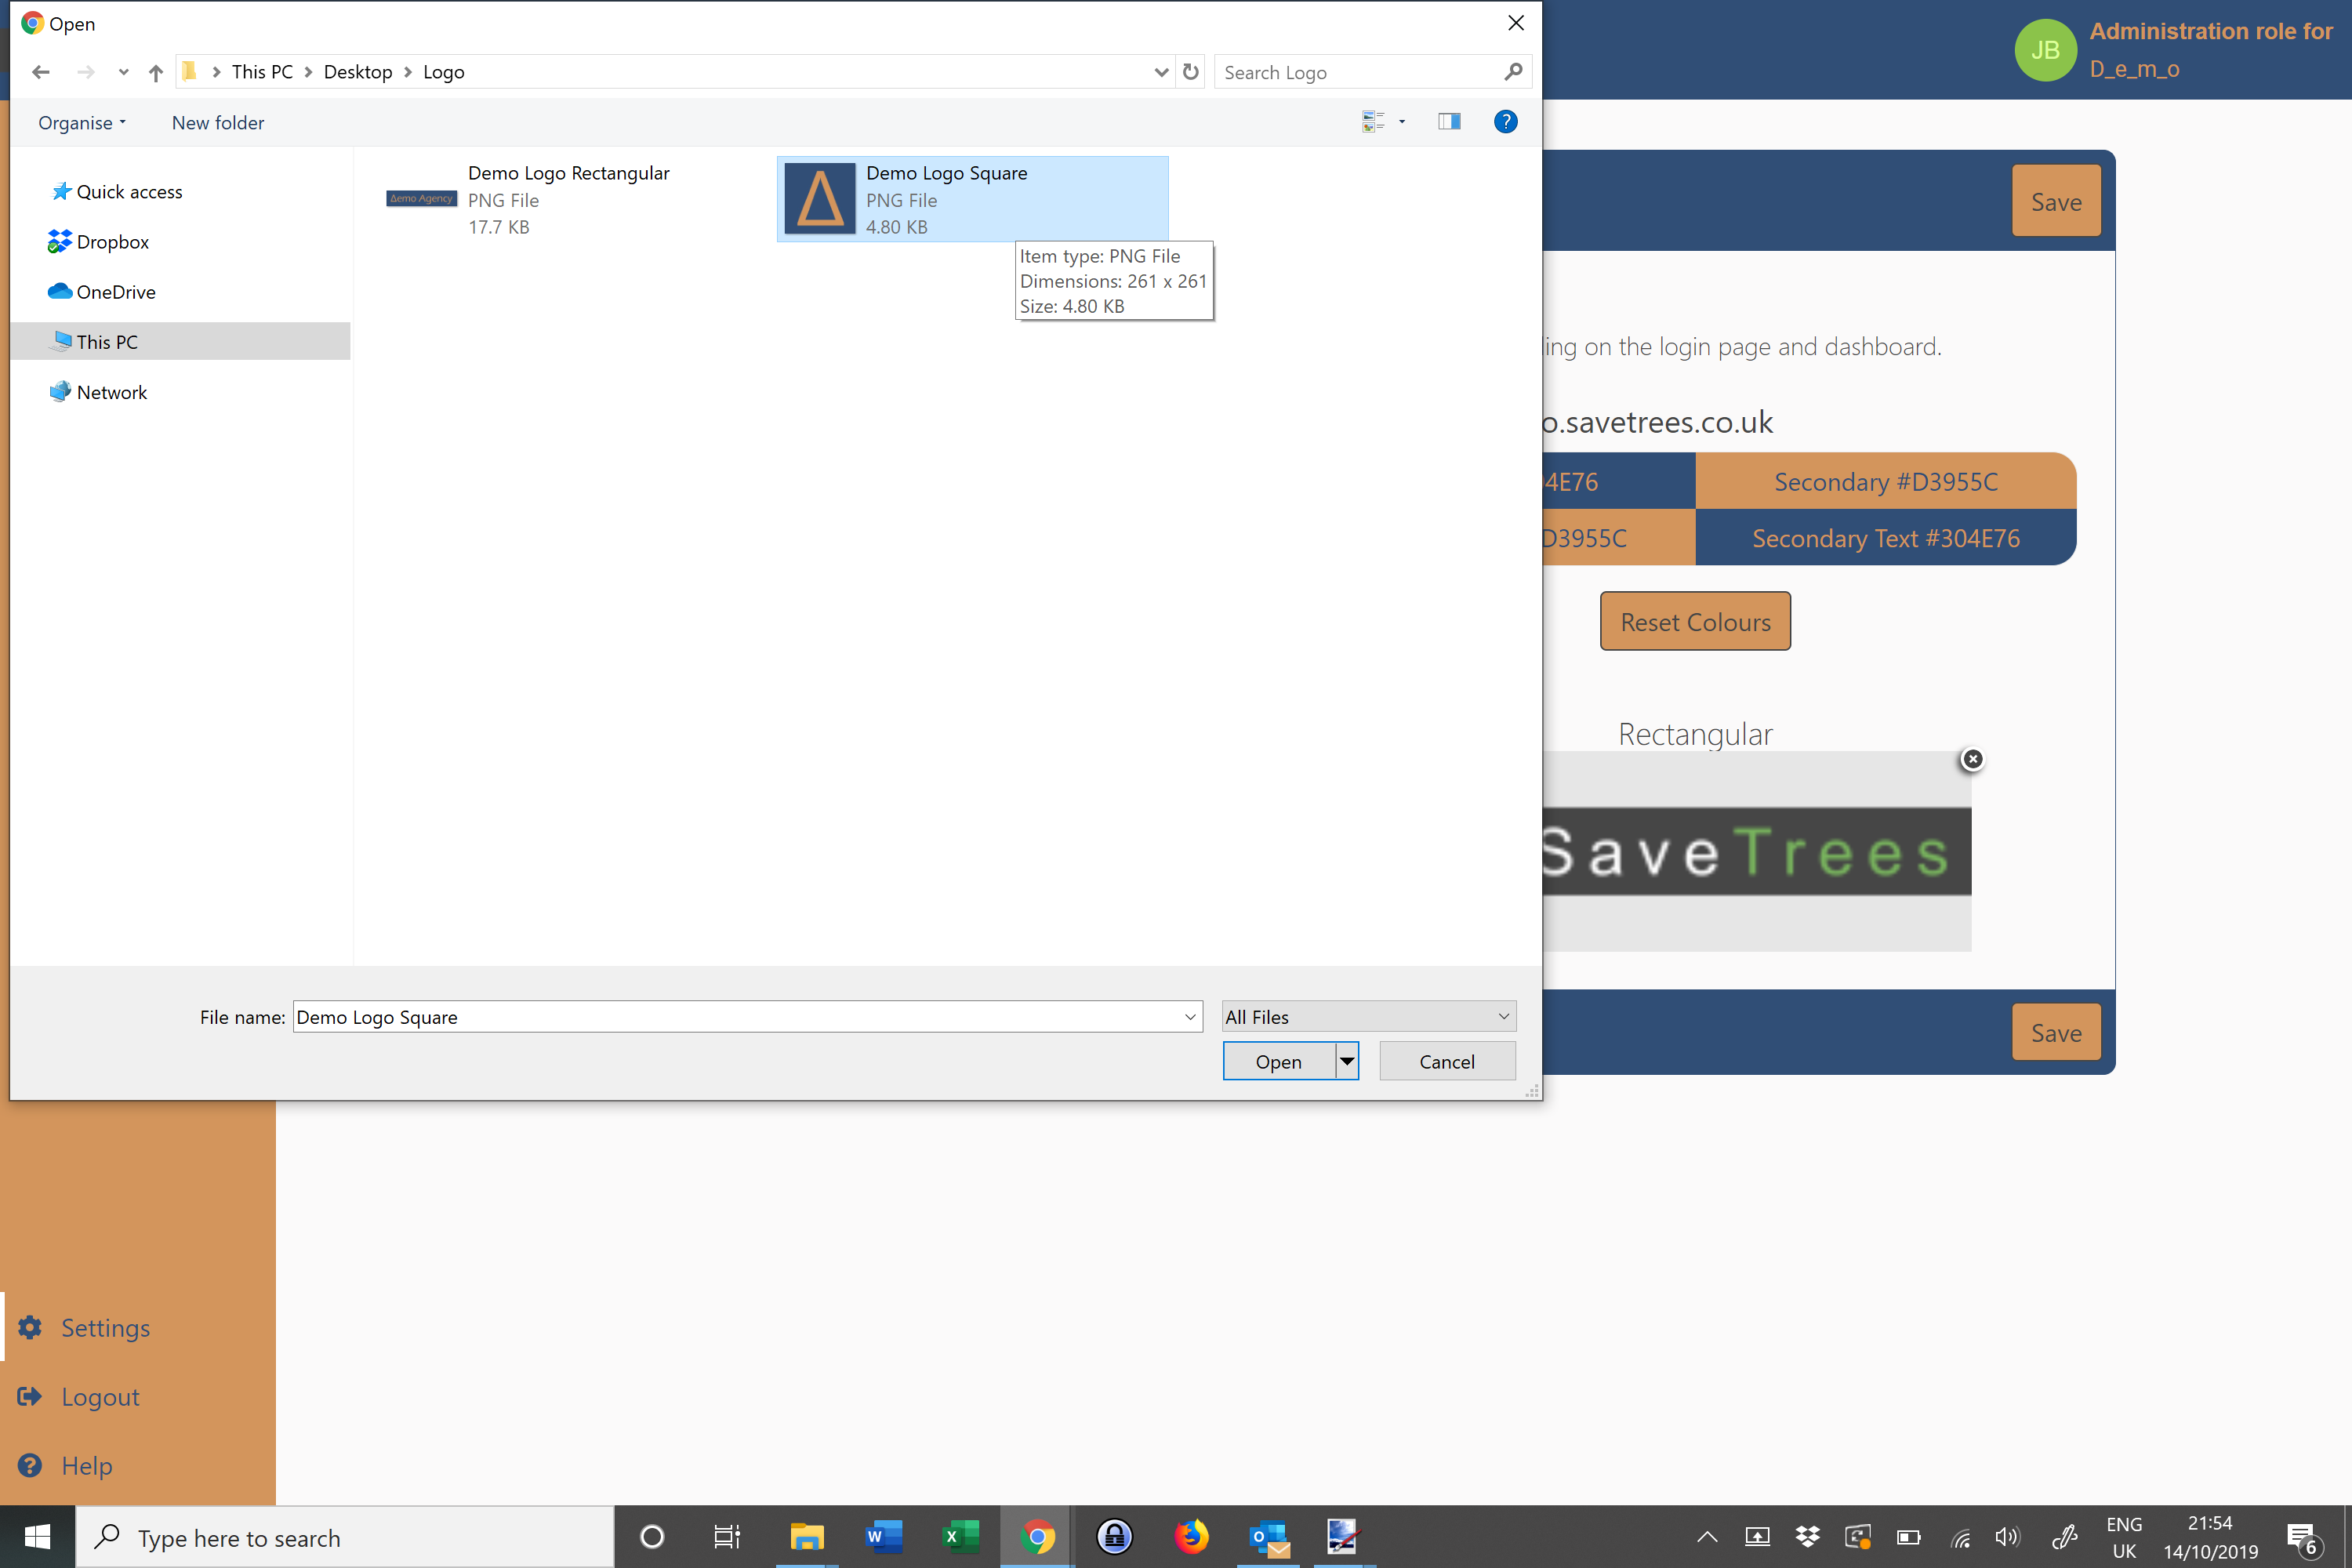
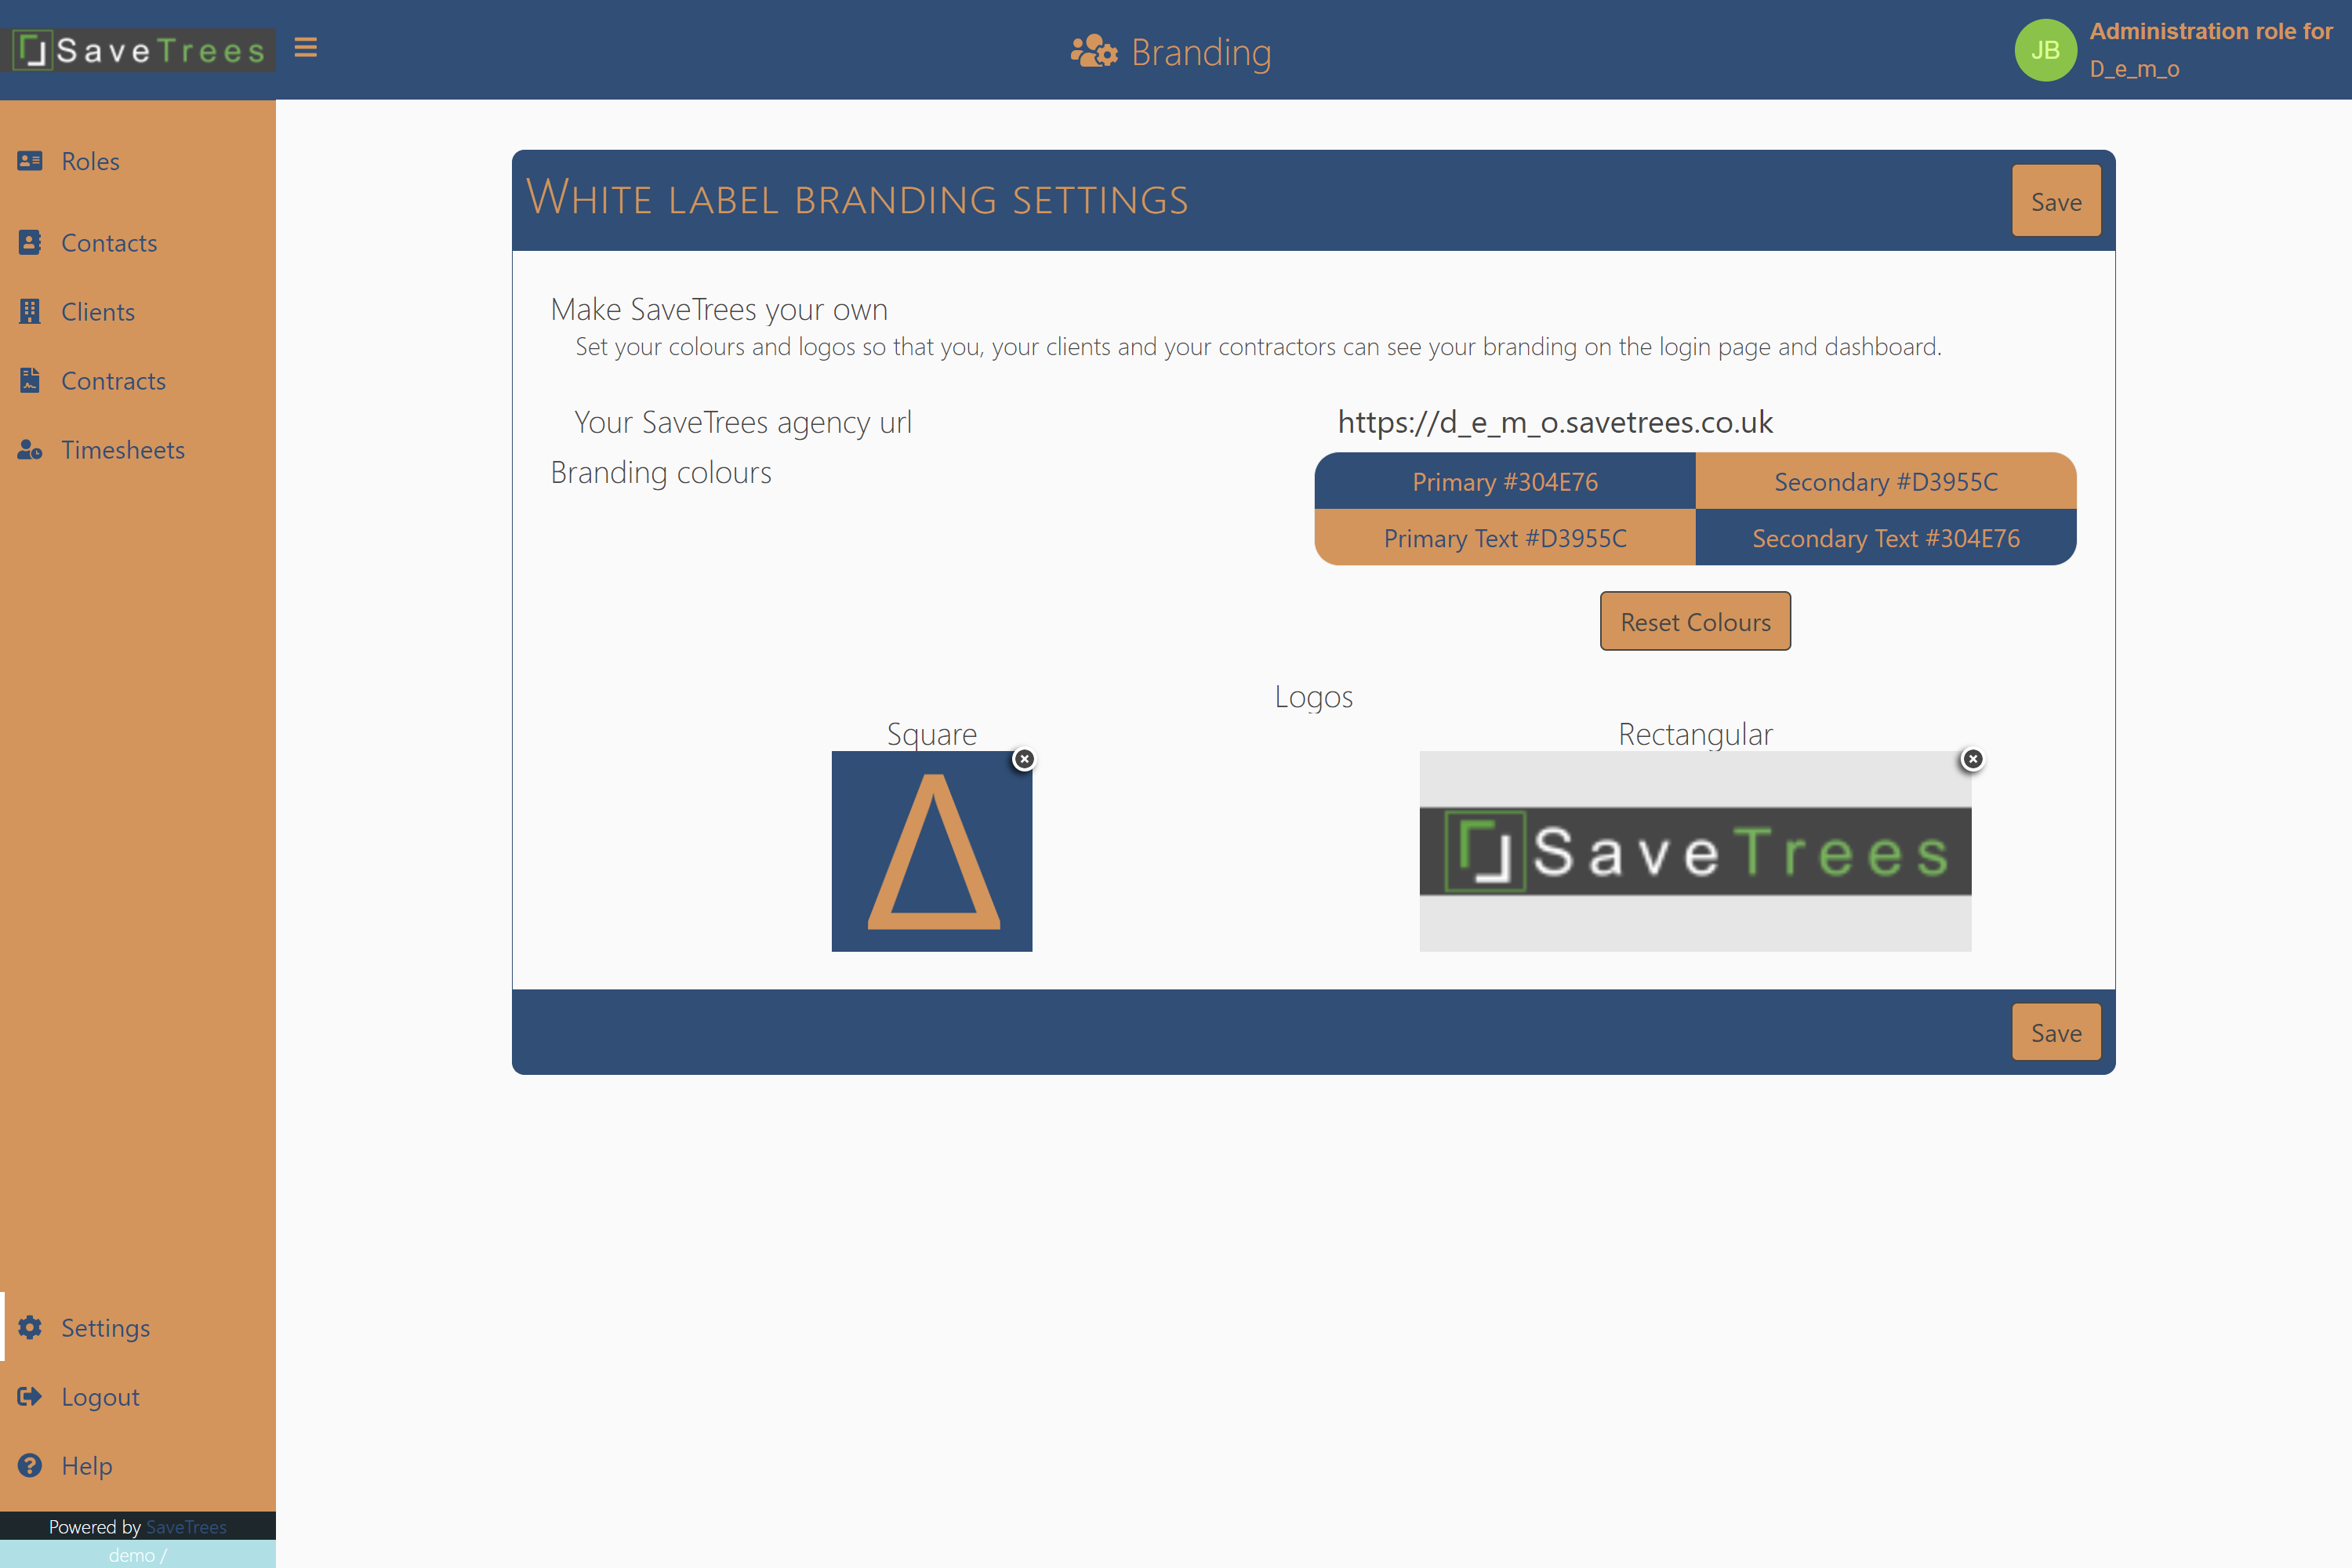
To do this, click on the SaveTrees icon in the left hand box, choose the file from your computer and click open.
The square icon is used for:
- The favicon on the browser tab
- The icon on your agencies log in page
- The small version of your logo when the left hand menu is collapsed
6. Choose a rectangular logo
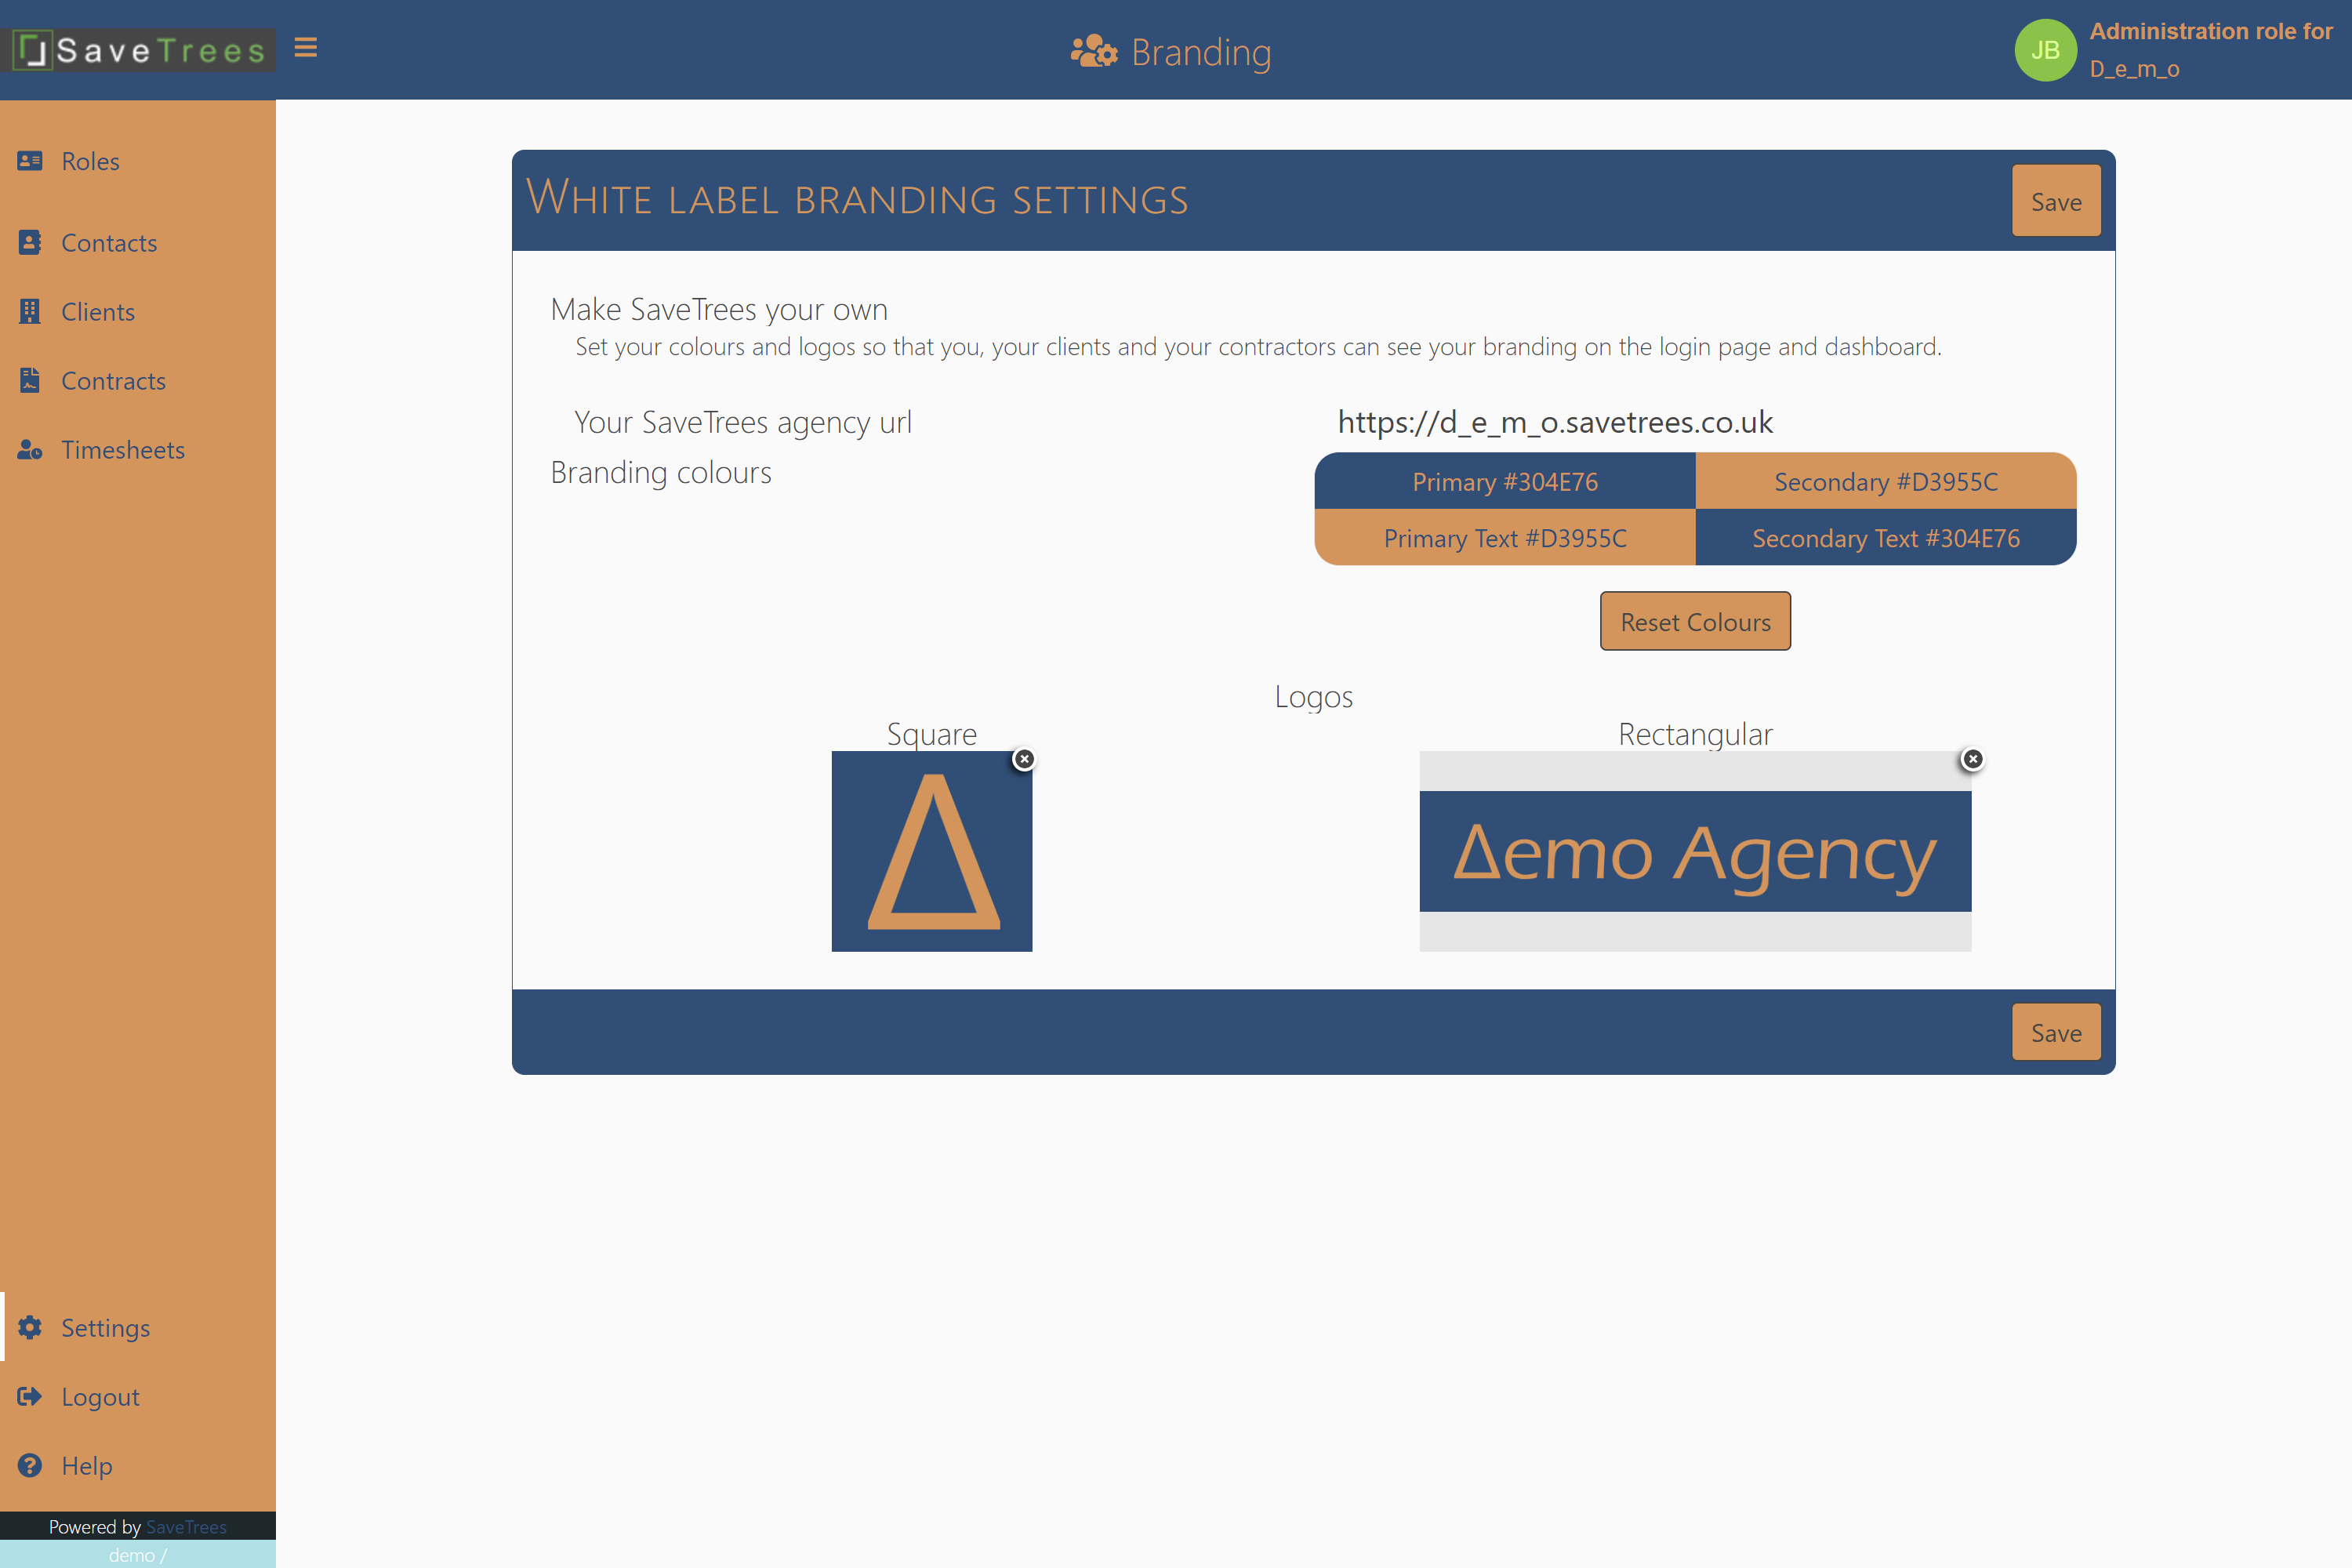
To do this, click on the SaveTrees logo in the right hand box, choose the file from your computer and click open.
The rectangular logo is used:
- In the expanded menu on the left in your dashboard
- In the header of your emails to contractors and authorisers
7. Save everything
Click save and everything will magically update.
Remember to click this or all changes will be lost.